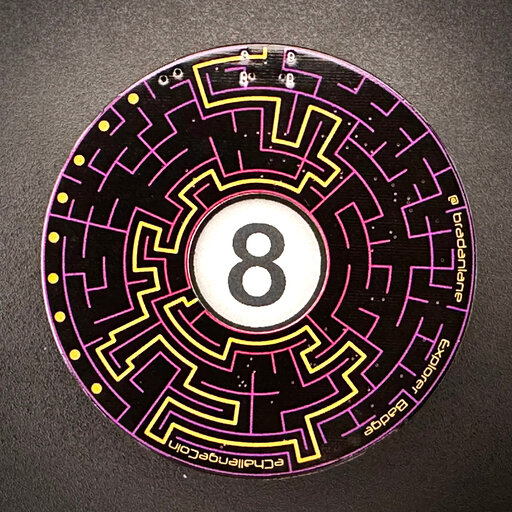
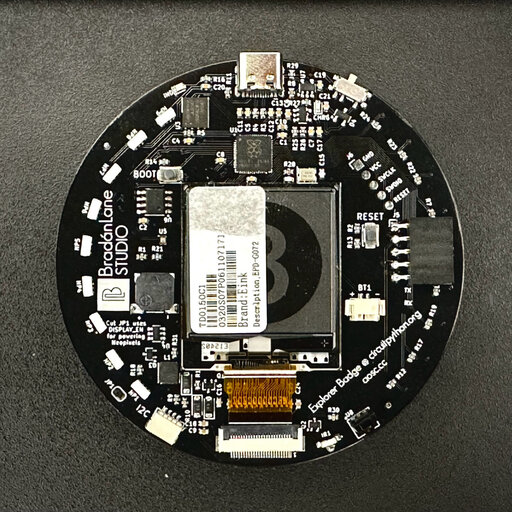
About the Badge
The badge uses the Raspberry Pi RP2040 microcontroller - a dual-core ARM processor running at a default speed of 125MHz. (CircuitPython currently only uses one core.) The badge has 8MB of FLASH storage, of which about 7.1MB is available to the user. The badge also has three break-out headers for even more customization.
The basic badge has the following hardware:
- Indicator LED (on the back)
- 9 Neopixels (addressable RGB LEDs)
- 9 touch pads
- Mini Speaker with Amplifier
- 200x200 ePaper Display - Monochrome (Black White)
- STEMMA-QT Connector (I2C)
- USB-C (power, serial, storage)
The badge has the following assignments:
| Pin | Name | Description | Pin | Name | Description |
|---|---|---|---|---|---|
| GP0 | TX | Transmit pin for IR | GP16 | I2S_DATA | I2S audio data pin * |
| GP1 | RX | Receive pin for IR | GP17 | I2S_BCK | I2S audio bit clock pin * |
| GP2 | I2C_SDA | I2C data line | GP18 | I2S_LRCK | I2S audio left/right clock pin * |
| GP3 | I2C_SCL | I2C clock line | GP19 | TOUCH1 | Touch pad 1 |
| GP4 | LED | Indicator LED | GP20 | TOUCH2 | Touch pad 2 |
| GP5 | NEOPIXEL | Addressable RGB LEDs | GP21 | TOUCH3 | Touch pad 3 |
| GP6 | SOUND | Mini Speaker with Amplifier | GP22 | TOUCH4 | Touch pad 4 |
| GP7 | SOUND_EN | Sound enable pin | GP23 | TOUCH5 | Touch pad 5 |
| GP8 | DISPLAY_EN | Display enable pin | GP24 | TOUCH6 | Touch pad 6 |
| GP9 | SPI_BUSY | ePaper busy pin | GP25 | TOUCH7 | Touch pad 7 |
| GP10 | SPI_RESET | ePaper reset pin | GP26 | TOUCH8 | Touch pad 8 |
| GP11 | SPI_DC | ePaper data/command select pin | GP27 | TOUCH9 | Touch pad 9 |
| GP12 | SPI_MISO | not exposed | -- | DISPLAY() | ePaper display interface |
| GP13 | SPI_CS | ePaper chip select pin | -- | I2C() | I2C interface on STEMMA-QT connector |
| GP14 | SPI_SCK | ePaper clock pin | -- | SPI() | SPI interface |
| GP15 | SPI_MOSI | ePaper receive pin | -- | VID() | function returns board code |
* the I2S pins are broken out on an unpopulated header on the back of the PCB. If you are not using I2S, these pins may be used as general purpose digital IO pins.
When writing CircuitPython, you may reference the pins using the pin name - e.g. board.GP5. For pins with an assigned function, you may also reference the pins using the functional name - e.g. board.NEOPIXEL.
CircuitPython
The Explorer Badge has CircuitPython pre-installed along with several libraries which help support the hardware. There is also a custom libraries to demonstrate coding to each of the hardware features (listed above). More on that library at the end.
CircuitPython is constantly being developed and improved. From time to time you may want to update the CircuitPython core and libraries. You will find the CircuitPython firmware at circuitpython.org. Go to the Downloads tab and search for the Explorer board.
When you update the CircuitPython firmware, you will also want to update any community libraries you have installed. The libraries are contained in a ZIP file available at circuitpython.org/libraries There are lots of libraries you may wish to use. The badge comes with the following pre-integrated (aka frozen* or built-in) libraries:
- neopixel
- adafruit_bitmap_font
- adafruit_display_shapes
- adafruit_display_text
- adafruit_hid
- adafruit_irremote
* The frozen buildt-in libraries do not need to be installed separately.
There are two additional libraries which are maintained by the badge project repository:
- explorer.py* - This library provides a simplified interface to all of the hardware features of the badge.
- simpletimer.py - This library provides a timer class for use in your projects.
* It is not necessary to use the explorer.py library. All of the excises in this tutorial are written without the library. The library does serve as a great learning tool. It provides examples of creating Python classes, properties, and methods.
These libraries may be updated from time to time with new features or bug fixes. You will find the latest code in GitLab repository CircuitPython lib folder.
Thonny IDE
These workshops use the Thonny IDE.
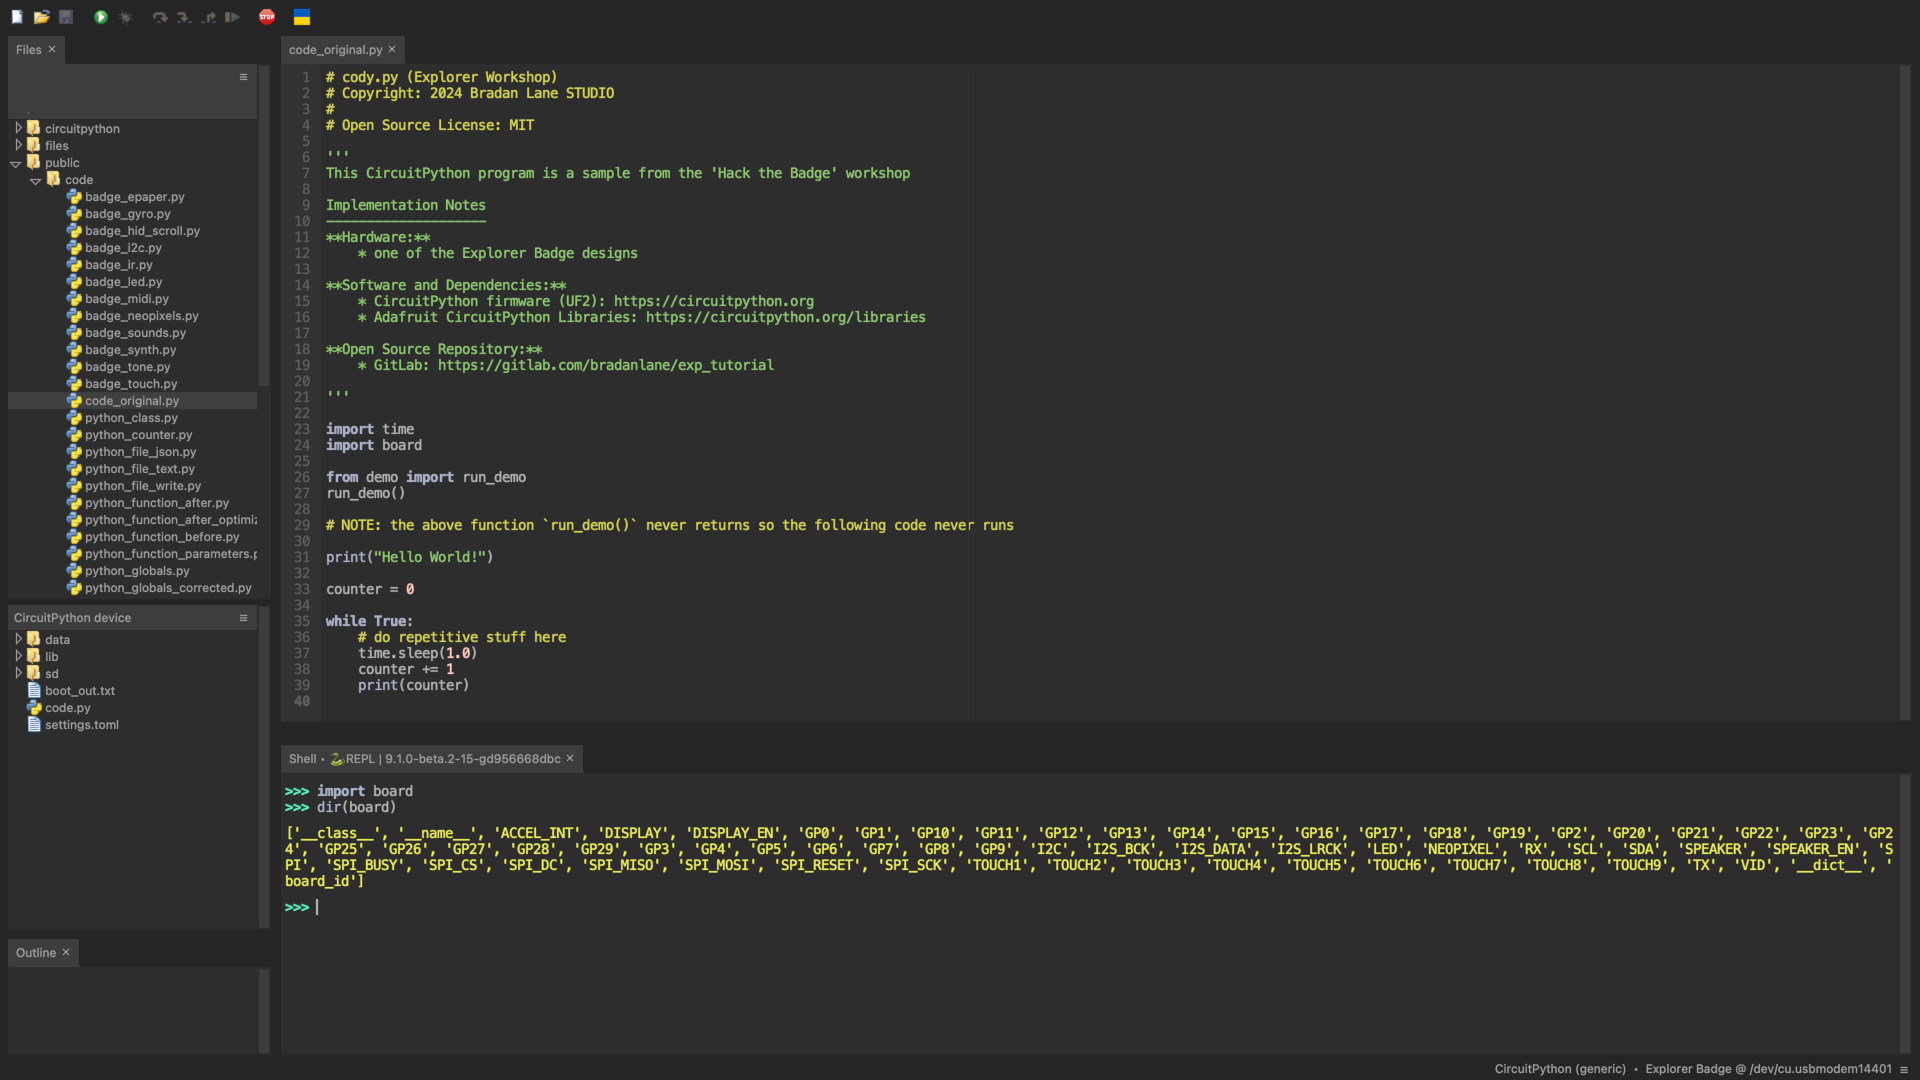
Thonny support multiple environments, including developing Python, CircuitPython, and MicroPython. The first two workshops will use Python. The Hack the Badge workshop will use CircuitPython.
The active environment is shown in the status bar at the bottom of the Thonny window. Clicking it will allow changing environments.
Note: You may need to click Configure Interpreter to select the correct Python version.

The toolbar near the top of the Thonny window has the primary functions of:
- create file
- open file
- save file
- run code (in current environment)
- debug (followed by code stepping buttons)
- stop code

Installing Libraries in Thonny
None of the workshops require additional libraries to be installed in Thonny.
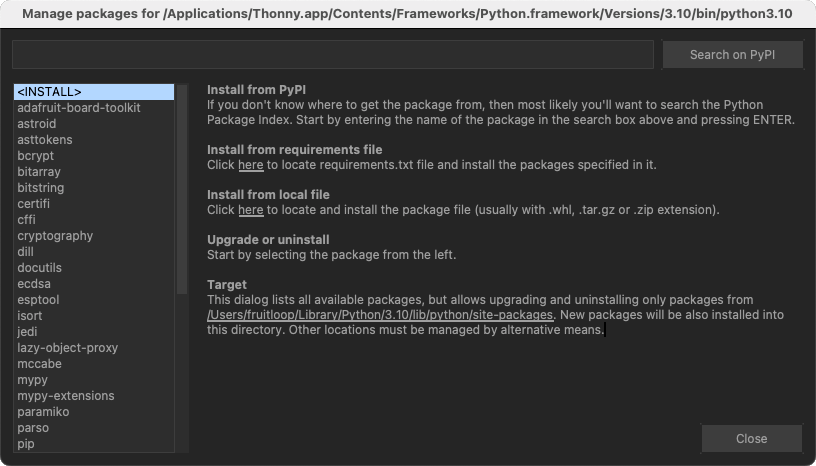
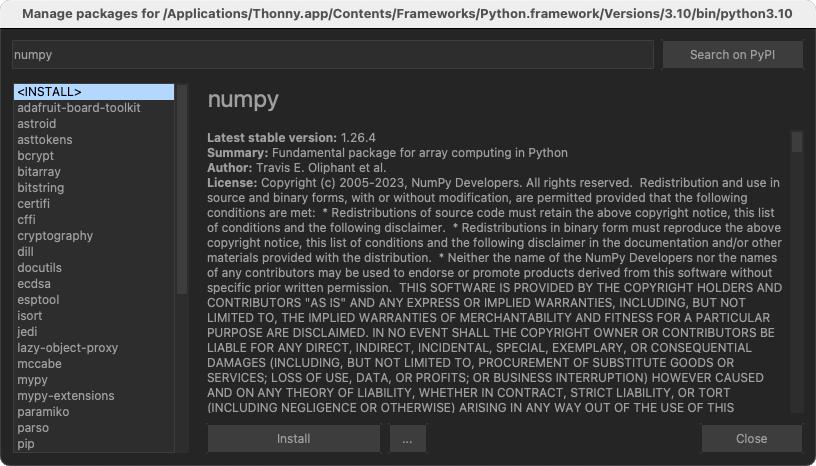
However, for completeness, here is an example of adding the numpy library to Thonny.
To install the numpy library in a Python environment, you would use the command: python3 -m pip install numpy. However, thonny maintains its own copy of Python. To install libraries, you must use the Thonny package manager which is accessed from the Tools menu.
Thonny's Non-Persistent Coding Model
CircuitPython assumes the program file is named code.py and it is located in the top level of the flash storage created when the board is plugged into a computer's USB.
Thonny does something unique - when using the RUN command or button. It loads the current Python code from the editor into the board's active memory and executes it. By default the code is not saved on the board. This is great for quickly developing and debugging code, but it can be confusing when it's time to make the code persist.
To make the code persist and run when the board is disconnected from the computer, it must be copied to the flash storage on the board, and the main program file name must be code.py.
Workshop Content
Throughout the workshops, you will see excerpts of code formatted with line numbers and a header. At the far right of the header for each code fragment, there is a source link which lets you view / download the entire file.

You will find the latest code in GitLab repository. You may download the repository as a zip file or clone it using git. We won't go into git in this workshop.
You will also find a ZIP of all the code and data used in the workshops, here.
The workshops are much easier if you have a copy of the code or the repository on your computer. You will want to open the code folder in Thonny to access all of the code files.
Design Files
The 3D printed back was created using AutoDesk Fusion 360. The design is provided in its original F3D format as well as STEP and STL.
The badge electronics were designed using KiCAD.
As an experiment, the design files are viewable here using KiCanvas. Use the Folder icon on the right toolbar to switch between the schematic and the PCB.