The Pocket Enigma is used much like a physical Enigma machine.
The biggest difference is the Pocket Enigma has a built-in 2.4 GHz transceiver for sending and receiving messages.
When multiple Pocket Enigmas are within range they receive and attempt to decode messages from each other.
If two devices are configured alike, the messages will automatically decode.
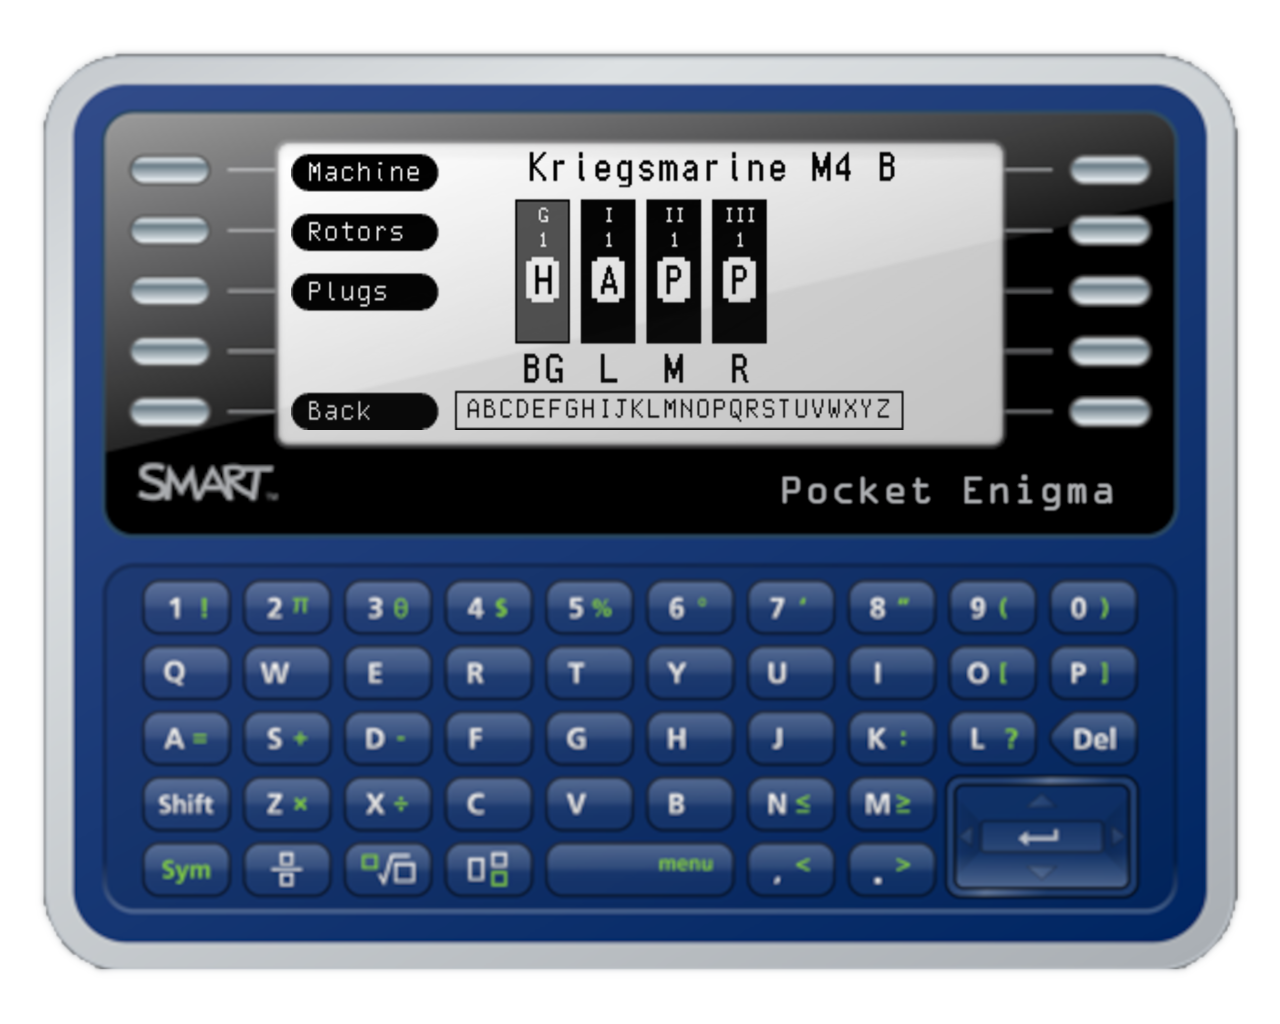
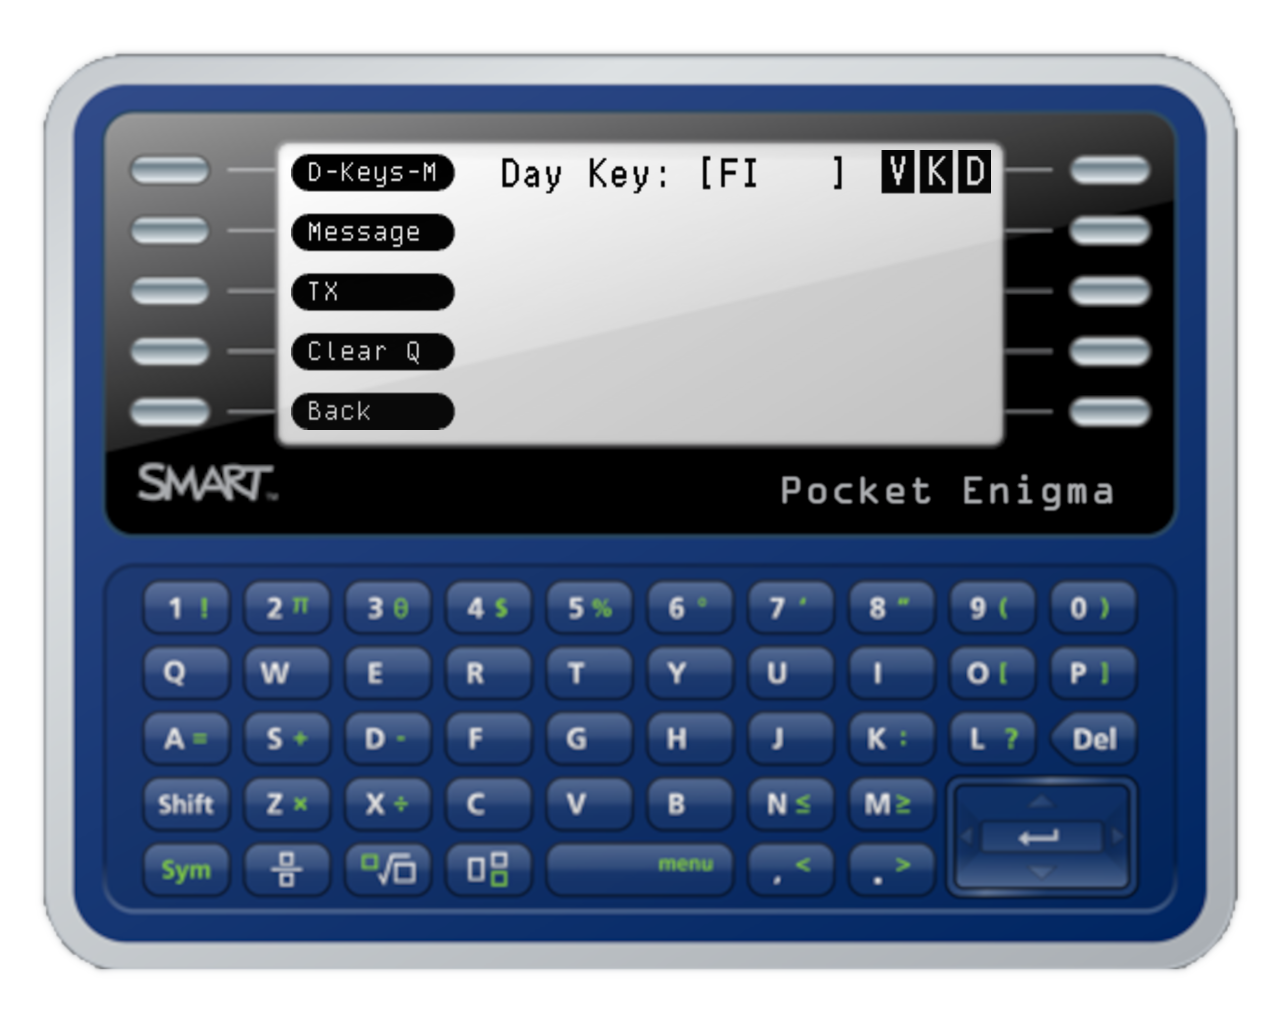
Use the menu to begin entering the letters of a message to encode.
The typed letters will appear in the upper half of the screen
while the letters are simultaneously encoded and shown in the lower half of the screen.
The upper right block shows the progress of the rotors.
The message text is limited to 80 letters.
Press Enter key to process the message.
Press Sym+DEL to escape from entering a message.
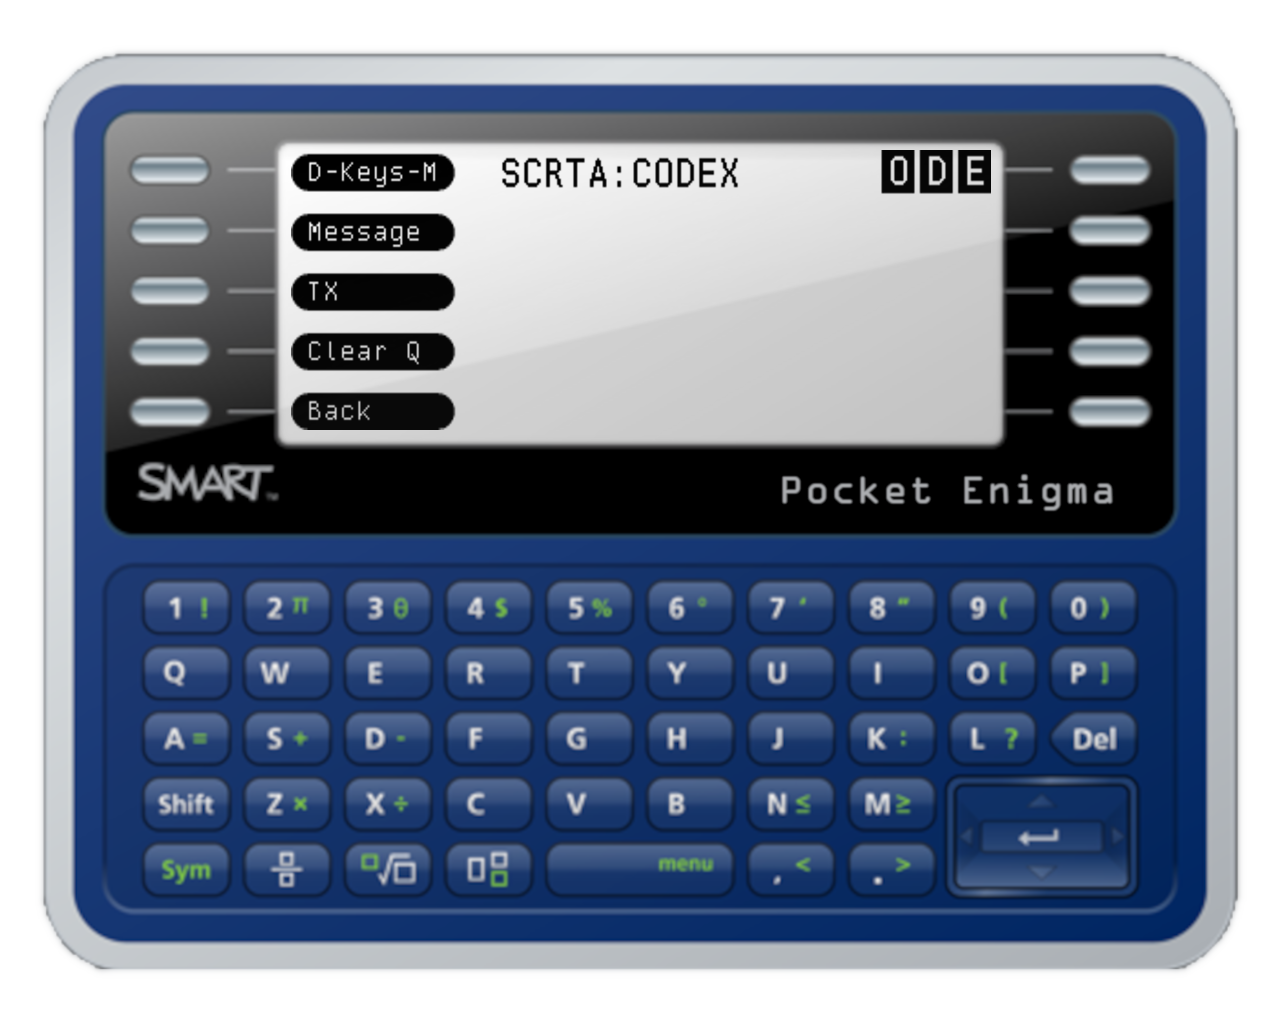
After pressing Enter, the message is encoded and formatted into blocks for sending.
A new message is prefixed with NX for 'not transmitted'.
Use the to transmit the current encoded message with the RF transceiver.
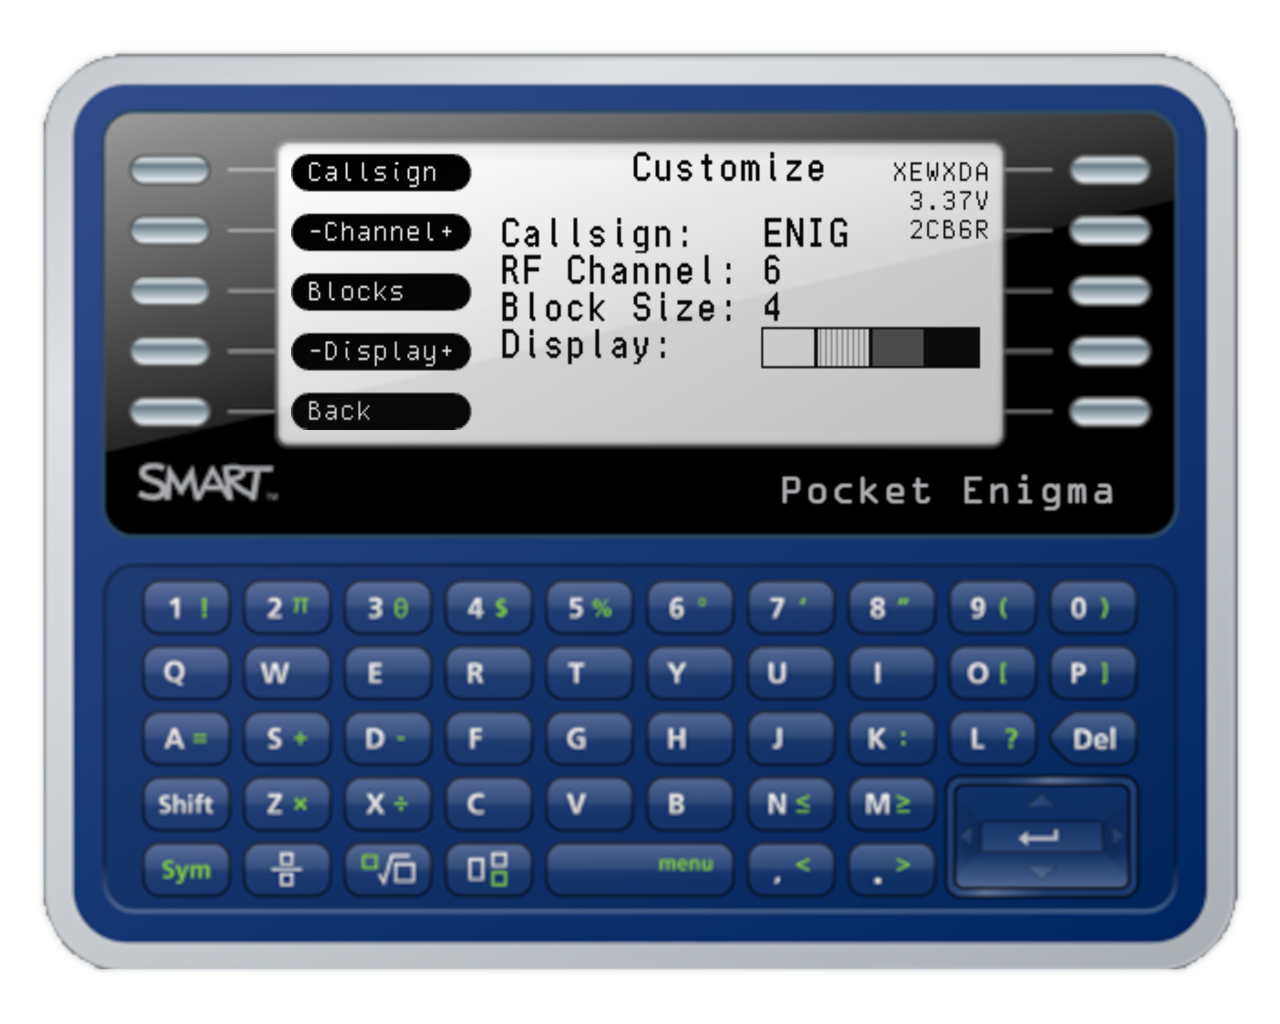
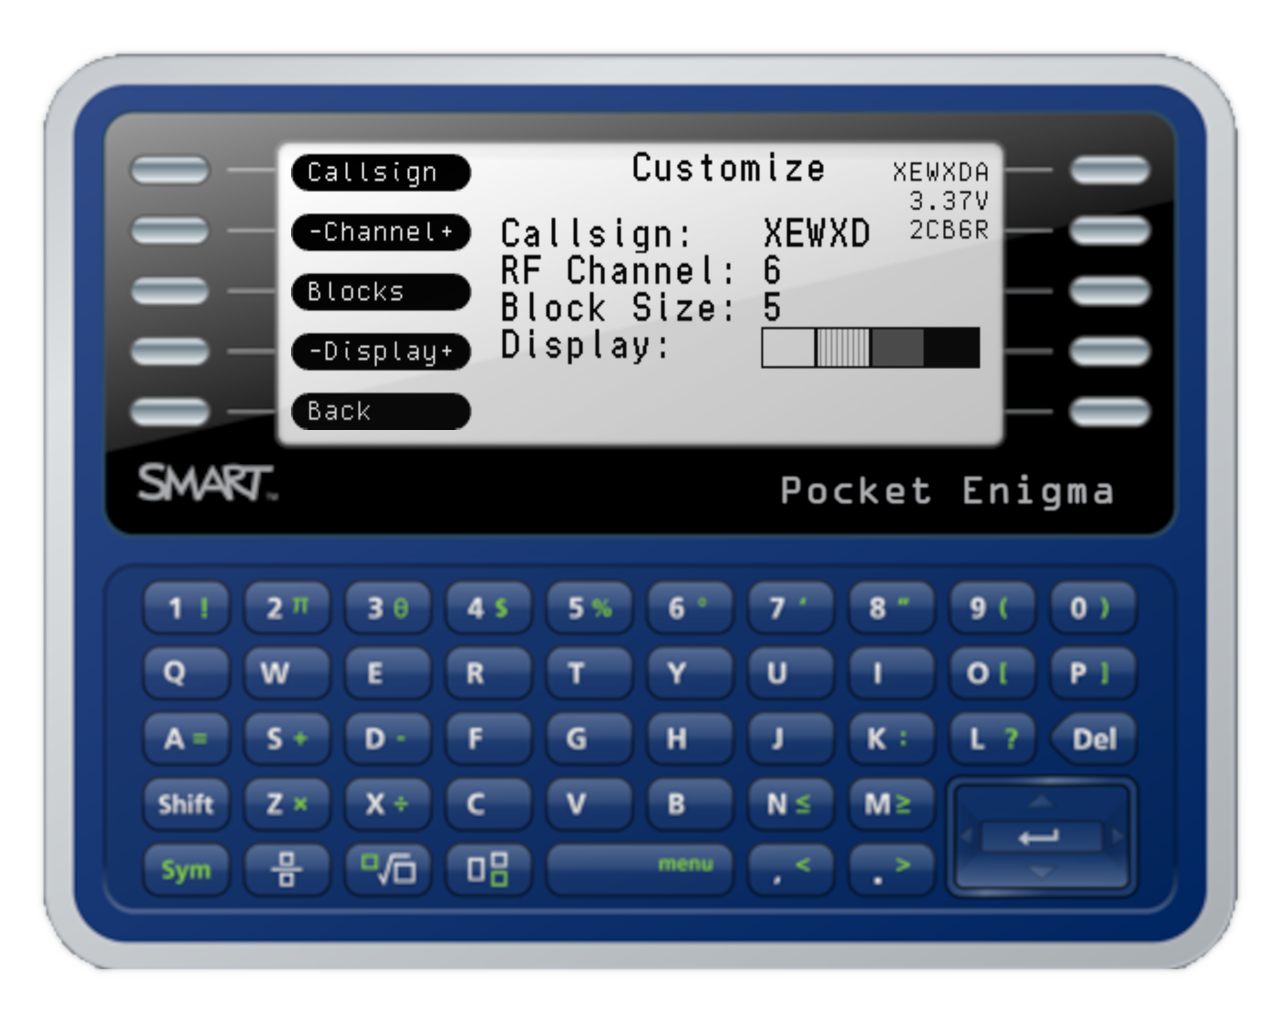
The message is transmitted on the RF channel set from the User Settings.
All other Pocket Enigmas within range and on the same channel will receive the message.
Only Pocket Enigmas with the same Enigma setup will be able to decode the message.
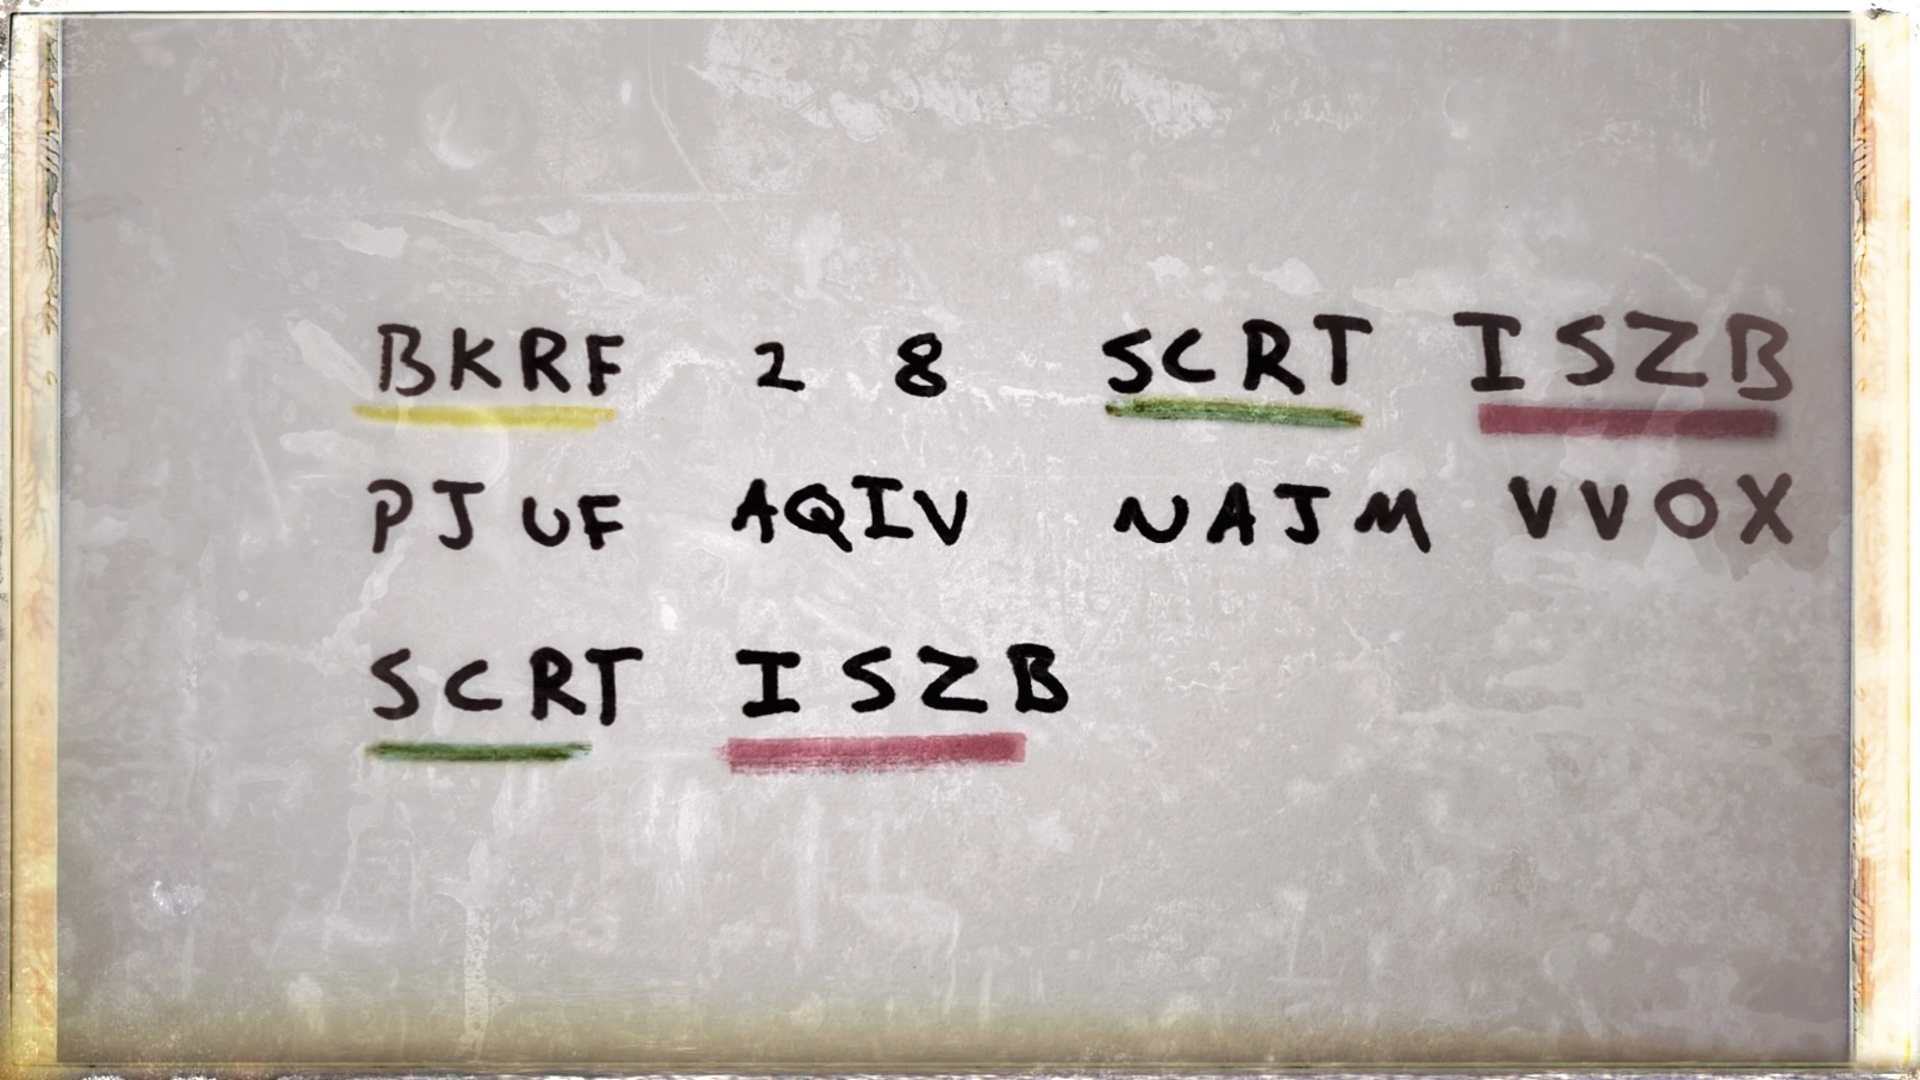
The Pocket Enigma formats message using the user callsign, the daily key, the message key, and the block size.
Other than the two numeric elements of a message, all other data is formatted as a block of letters using the block size setting.
USER
NN
CC
DKEY
EKEY
THEM
ESSA
GECO
NTEN
TFOL
LOWS
INBL
OCKS
OFFO
URLE
TTER
SAND
PADD
EDXX
DKEY
EKEY
- USER - the user callsign
- NN - an incremental counter to help identify the order of messages
- CC - the number of blocks in the message
- DKEY - the daily key
- EKEY - the encoded representation of the message key
- ... the encoded message ...
- DKEY - the daily key is repeated
- EKEY - the encoded key is repeated
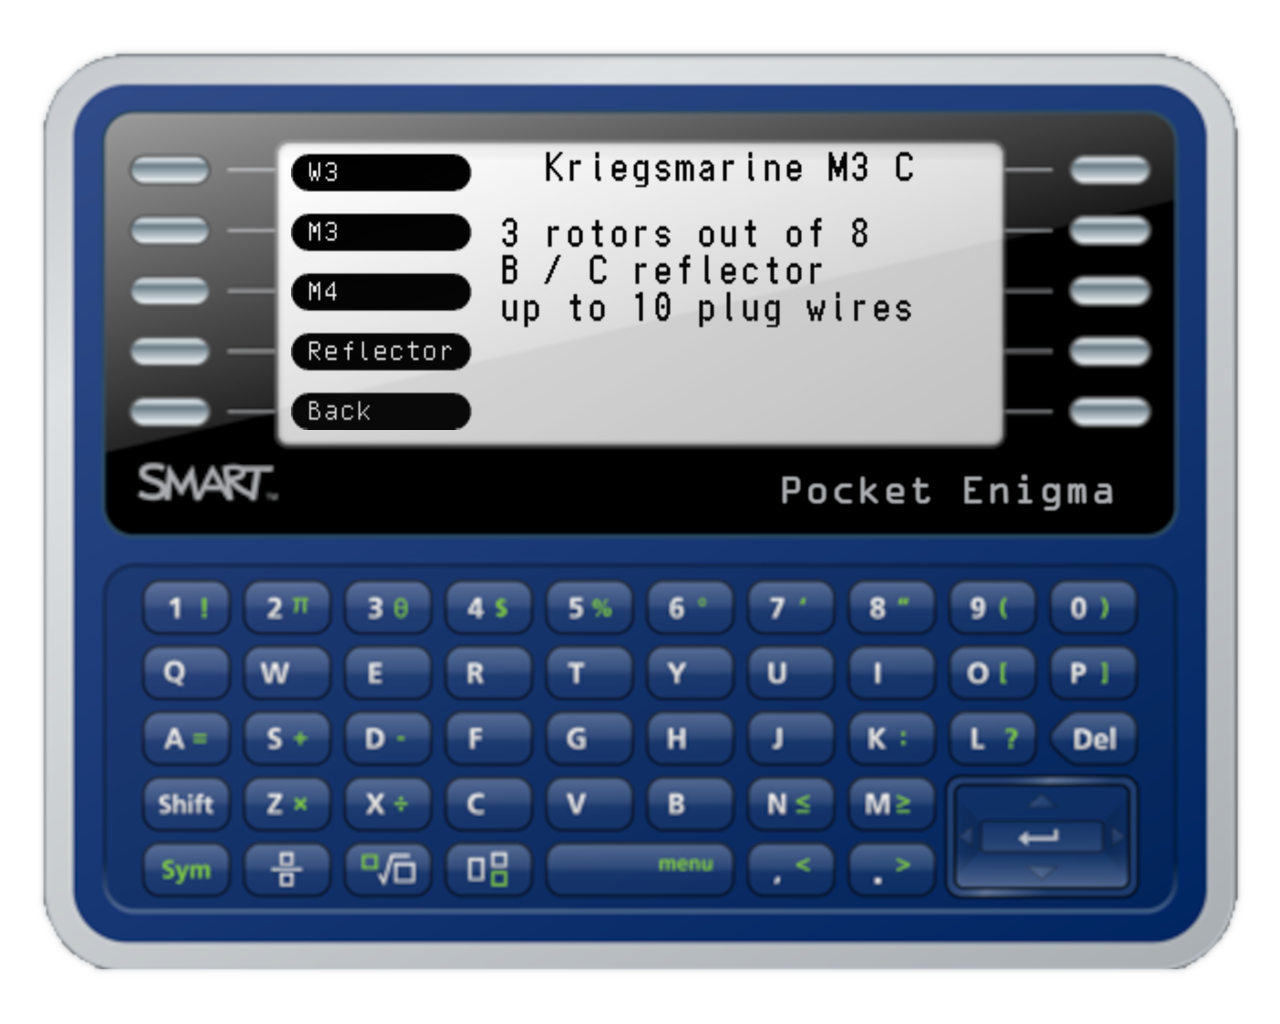
The message syntax is derived from early Navy M3 messages.
The primary difference is the absence of using code book sheets or daily sheets for determining the keys and the plugboard settings.
Actual Enigma message traffic included the date and time.
This was needed by the receiving station to know the correct entry in the daily sheets.
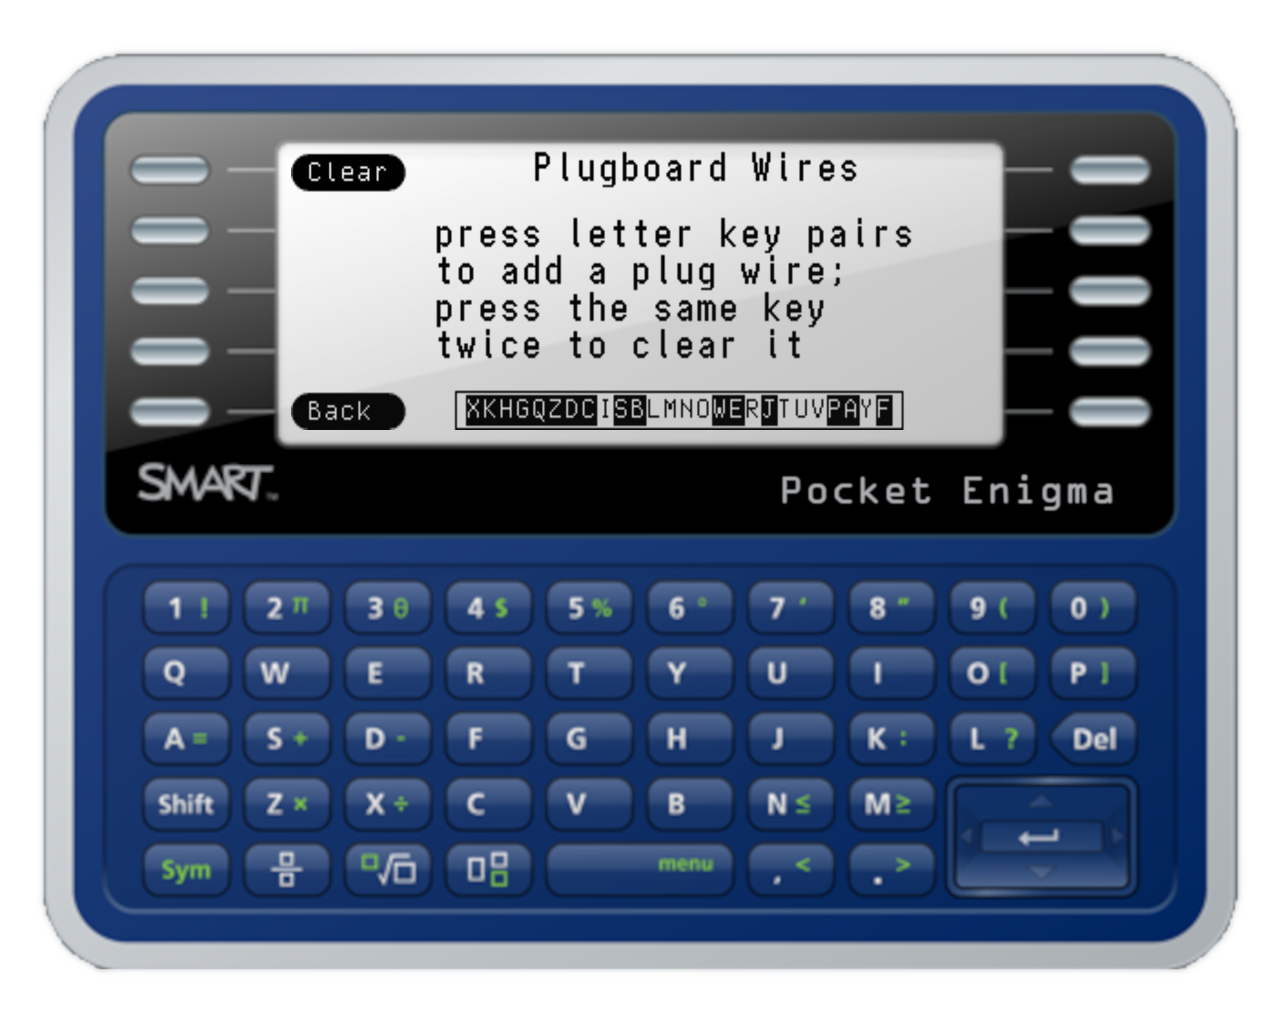
If another Pocket Enigma receives the message and
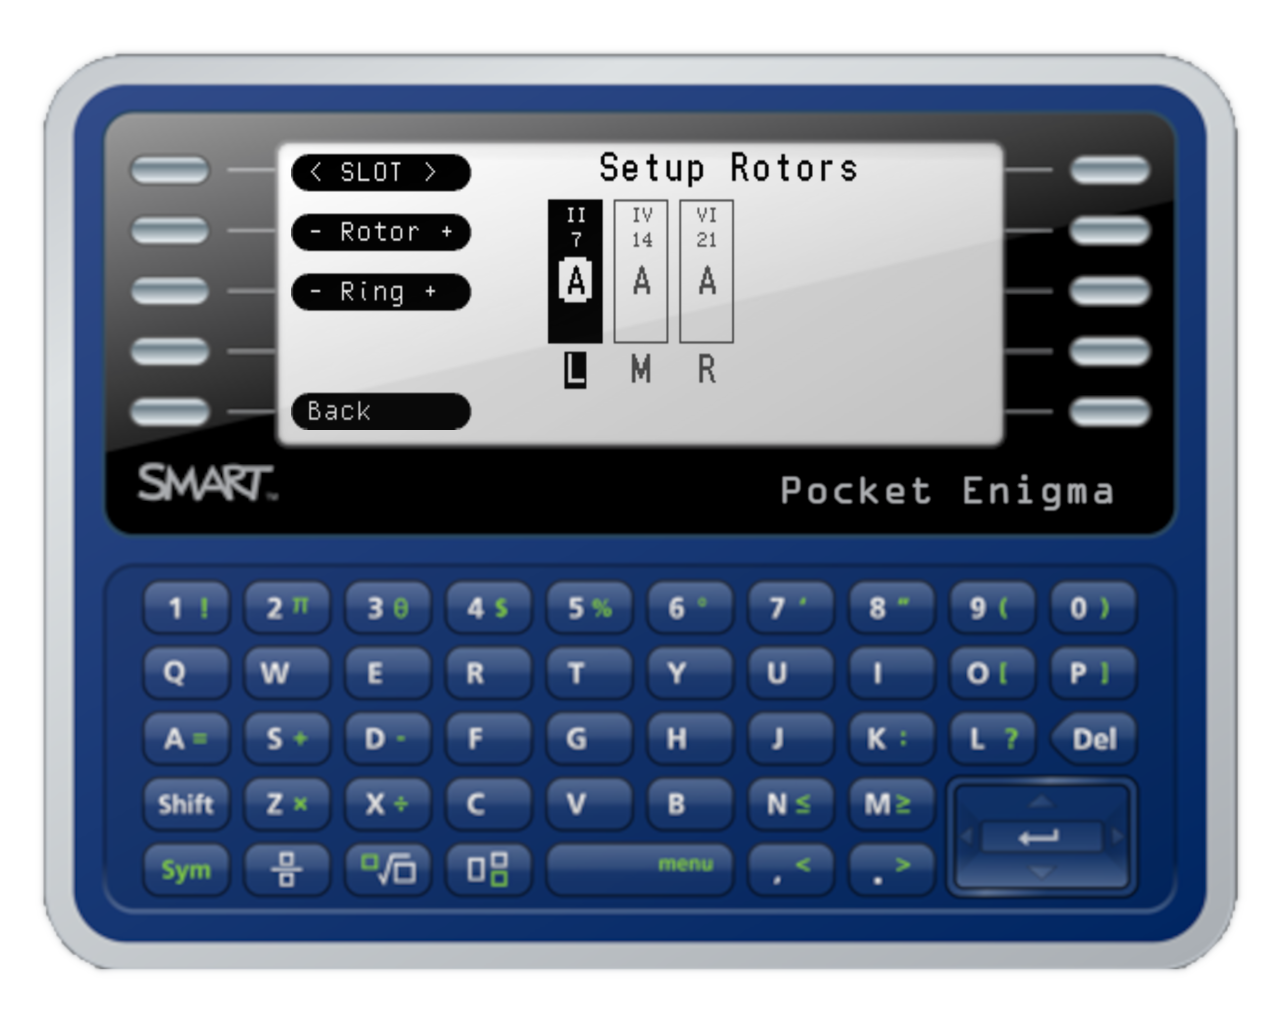
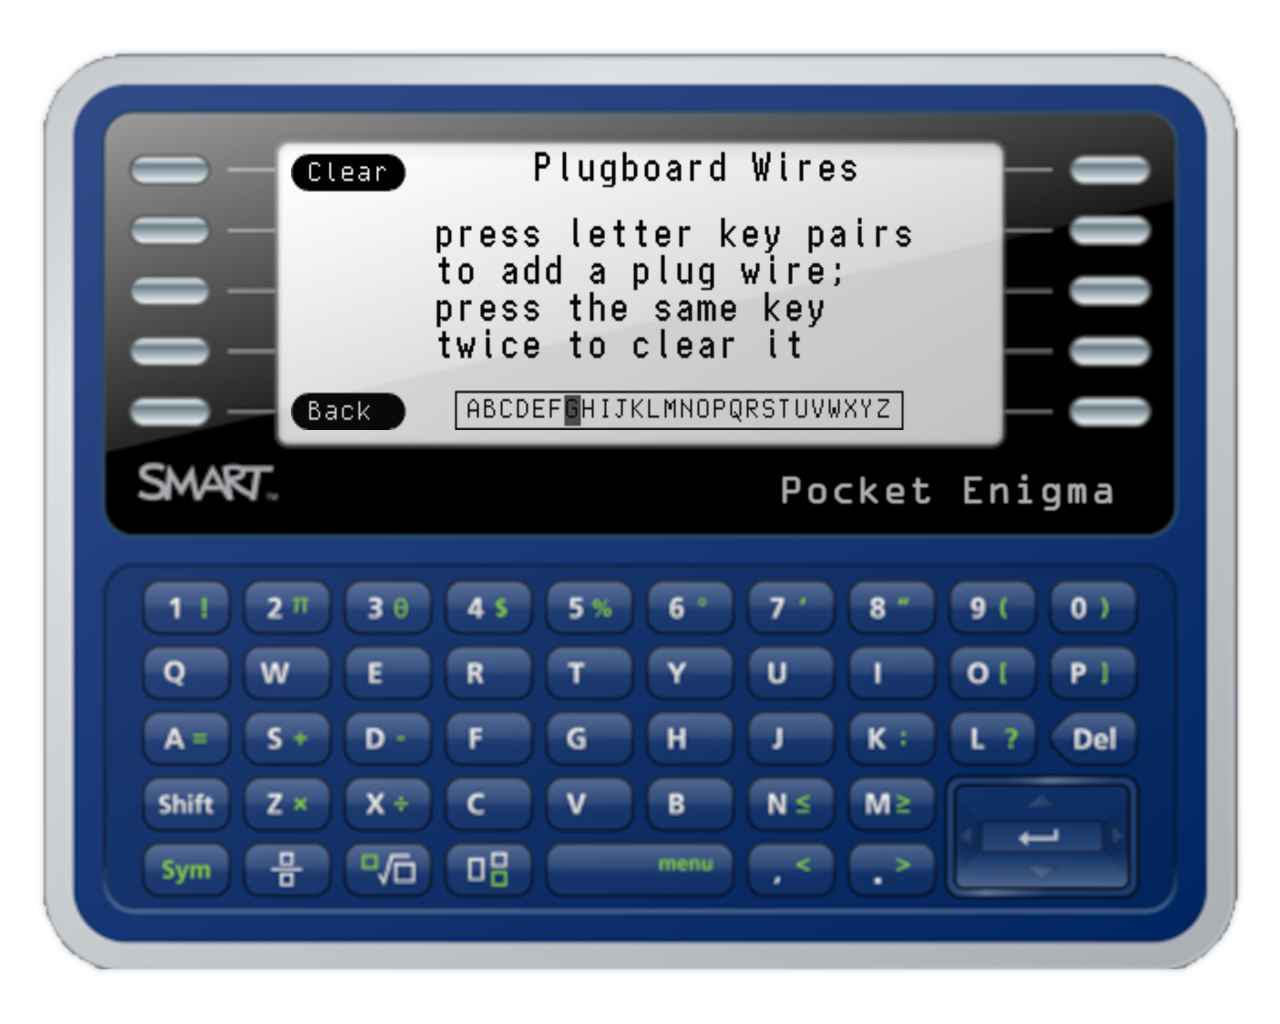
it has the same machine type, reflector setting, rotors in the same order, ring settings, and plug board wires,
then it will be able to decode the message.
The decode process reverses the encode process.
The message is parsed to locate the daily key and the encoded key.
The daily key is used to recreate the message key from the encoded key.
The message key is then used to decode the message contents.
When the Pocket Enigma receives a message on the RF channel is it monitoring, it will perform the decode process.
The Enigma engine software is not able to determine is the decoded message is correct.
It is only performing the decode process using its current Enigma setup.
The Pocket Enigma will automatically switch block sizes to correctly process received messages.
Tip: For using the Pocket Enigma with role player games or existing messages,
you may want to enter the encoded message to translate back to plain text.
Use the Sym+ menu to begin entering the letters of an encoded message.
The messages sent and received are stored in a circular list.
Use the ↑ navigation pad key to scroll to the previous message.
Use the ↓ navigation pad key to scroll to the next message.
Use the menu to erase all messages in the circular list.
The may be used to retransmit the current encoded message.
Tip: There is an extra feature for attempting to re-decode a received message. The purpose is to allow alternate Enigma setups to be tested on an existing message.
When an RX message is selected, use the Sym+ to decode the message again with the current Enigma setup. You may make changes to the Enigma setup and attempt to decode as many times as you wish.