Useful Instructions
The Explorer Badge runs CircuitPython.
You can visit CircuitPython.org and search for 'explorer' to check for the latest version of CircuitPython.
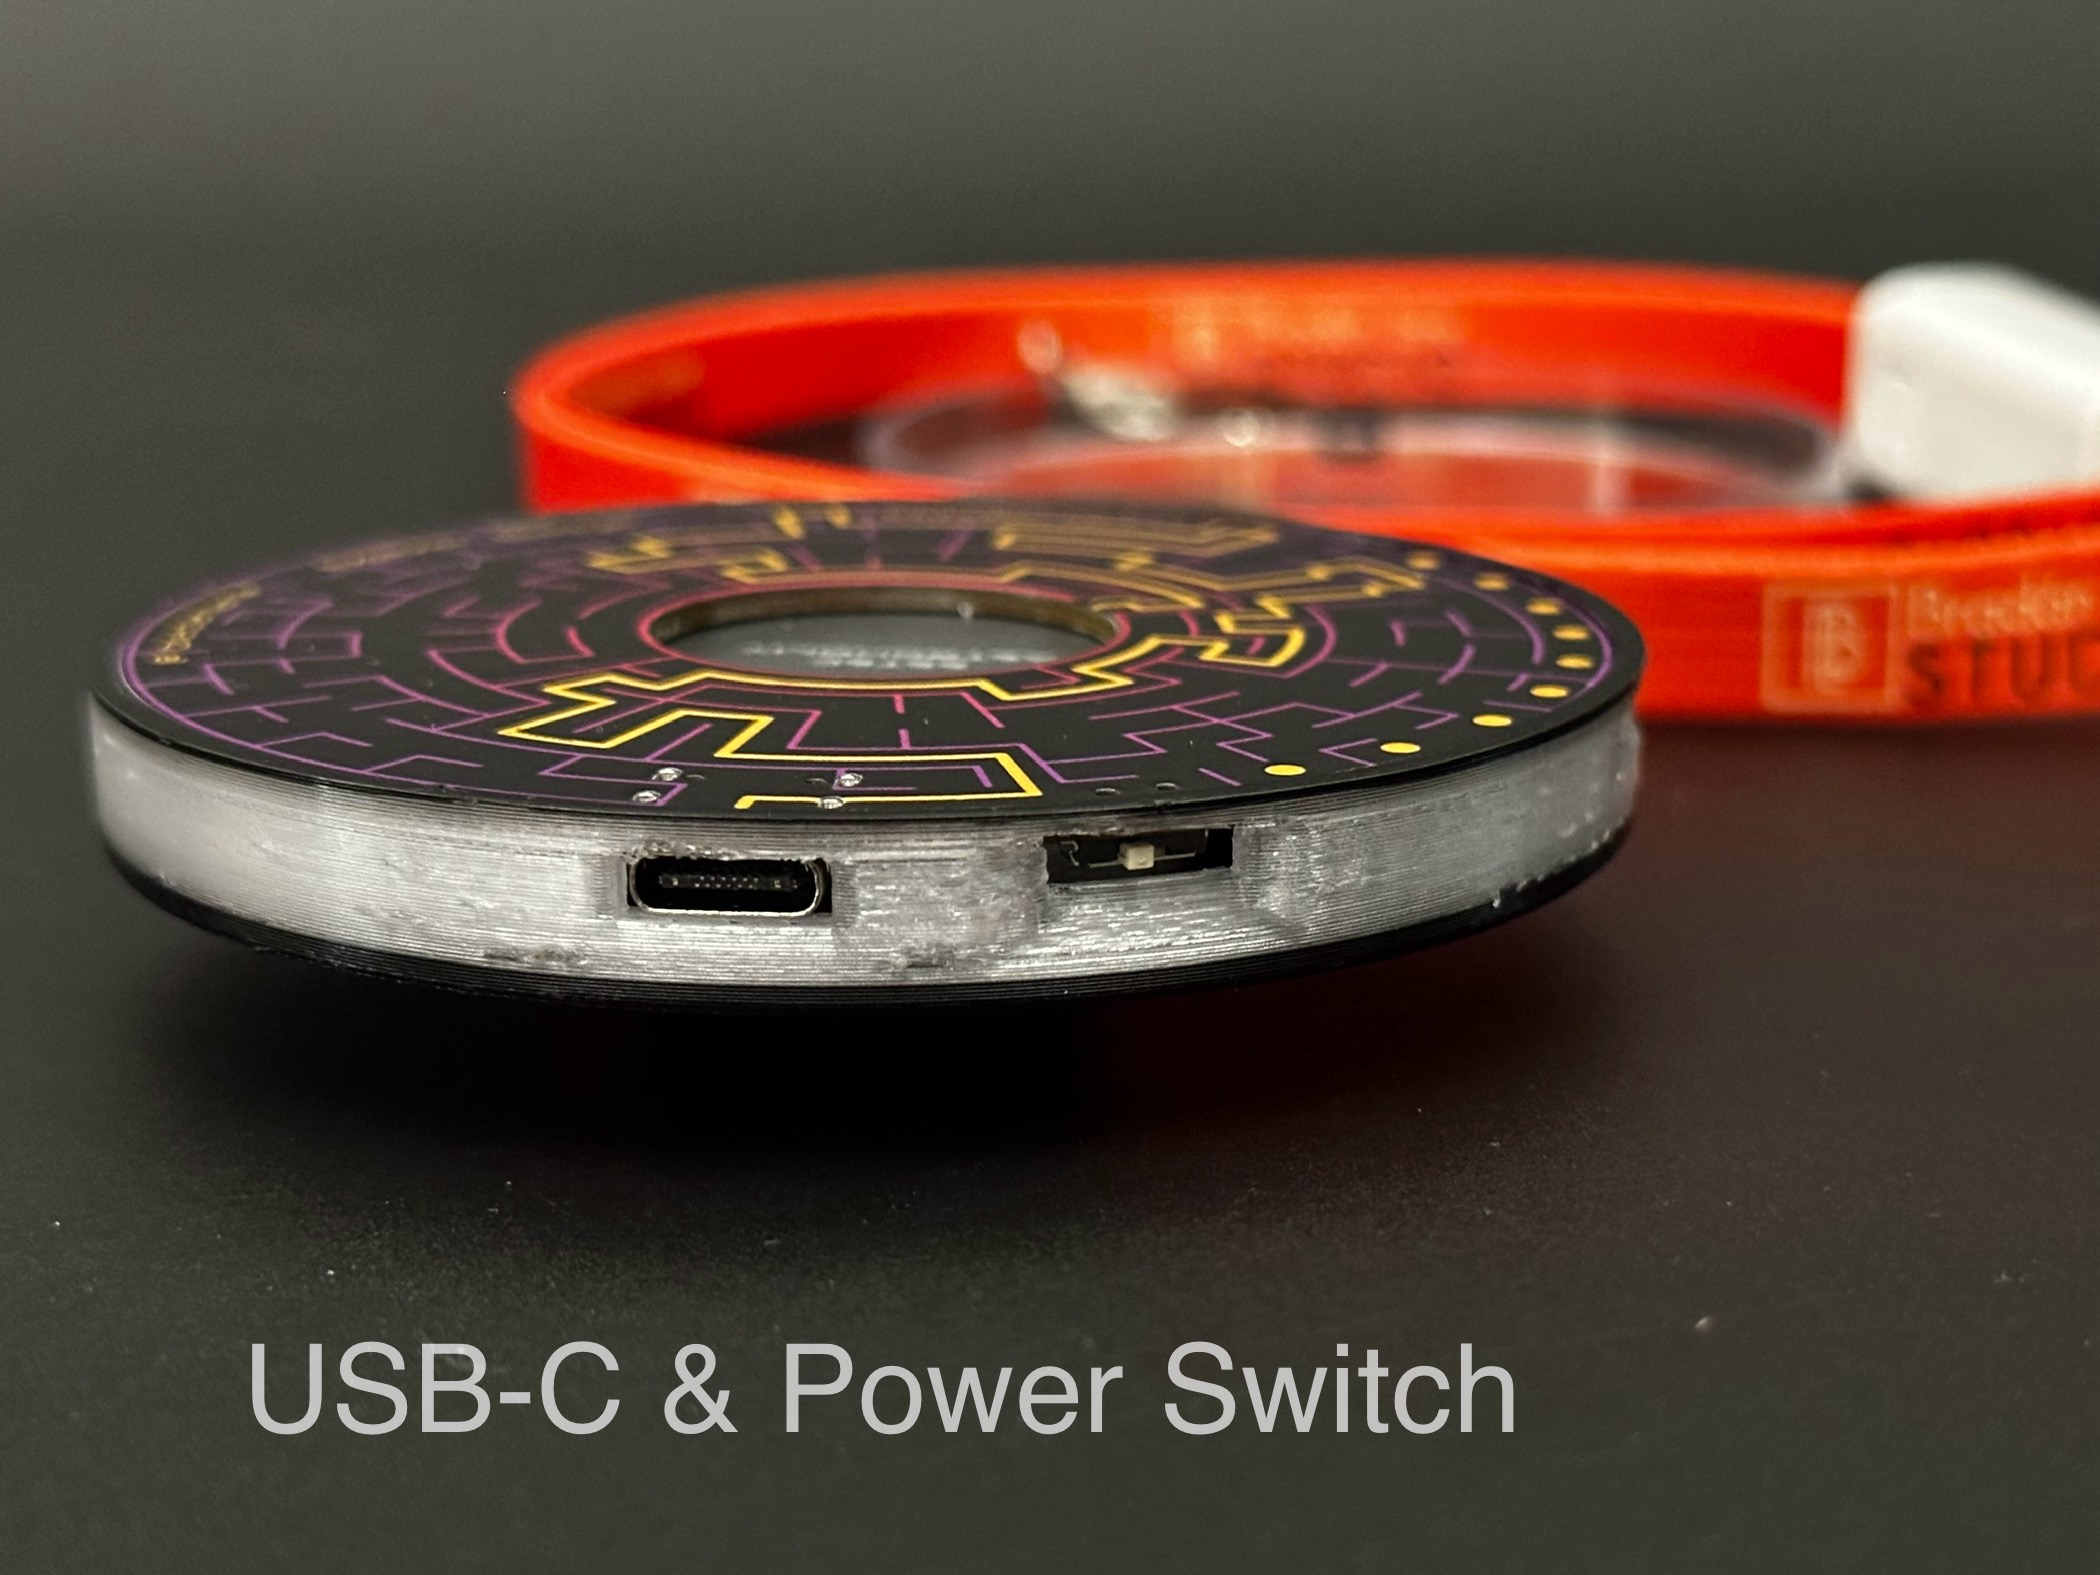
The power switch must be ON to use the badge - even when connected to USB. This is by design to allow the optional battery to charge without requiring the badge to be active.
The ON position iw away from the USB connector when looking at teh face of teh badge.
It will be necessary, from time to time, to remove the 3D printed back.
For example, you need to remove the back to to install a battery (covered next).
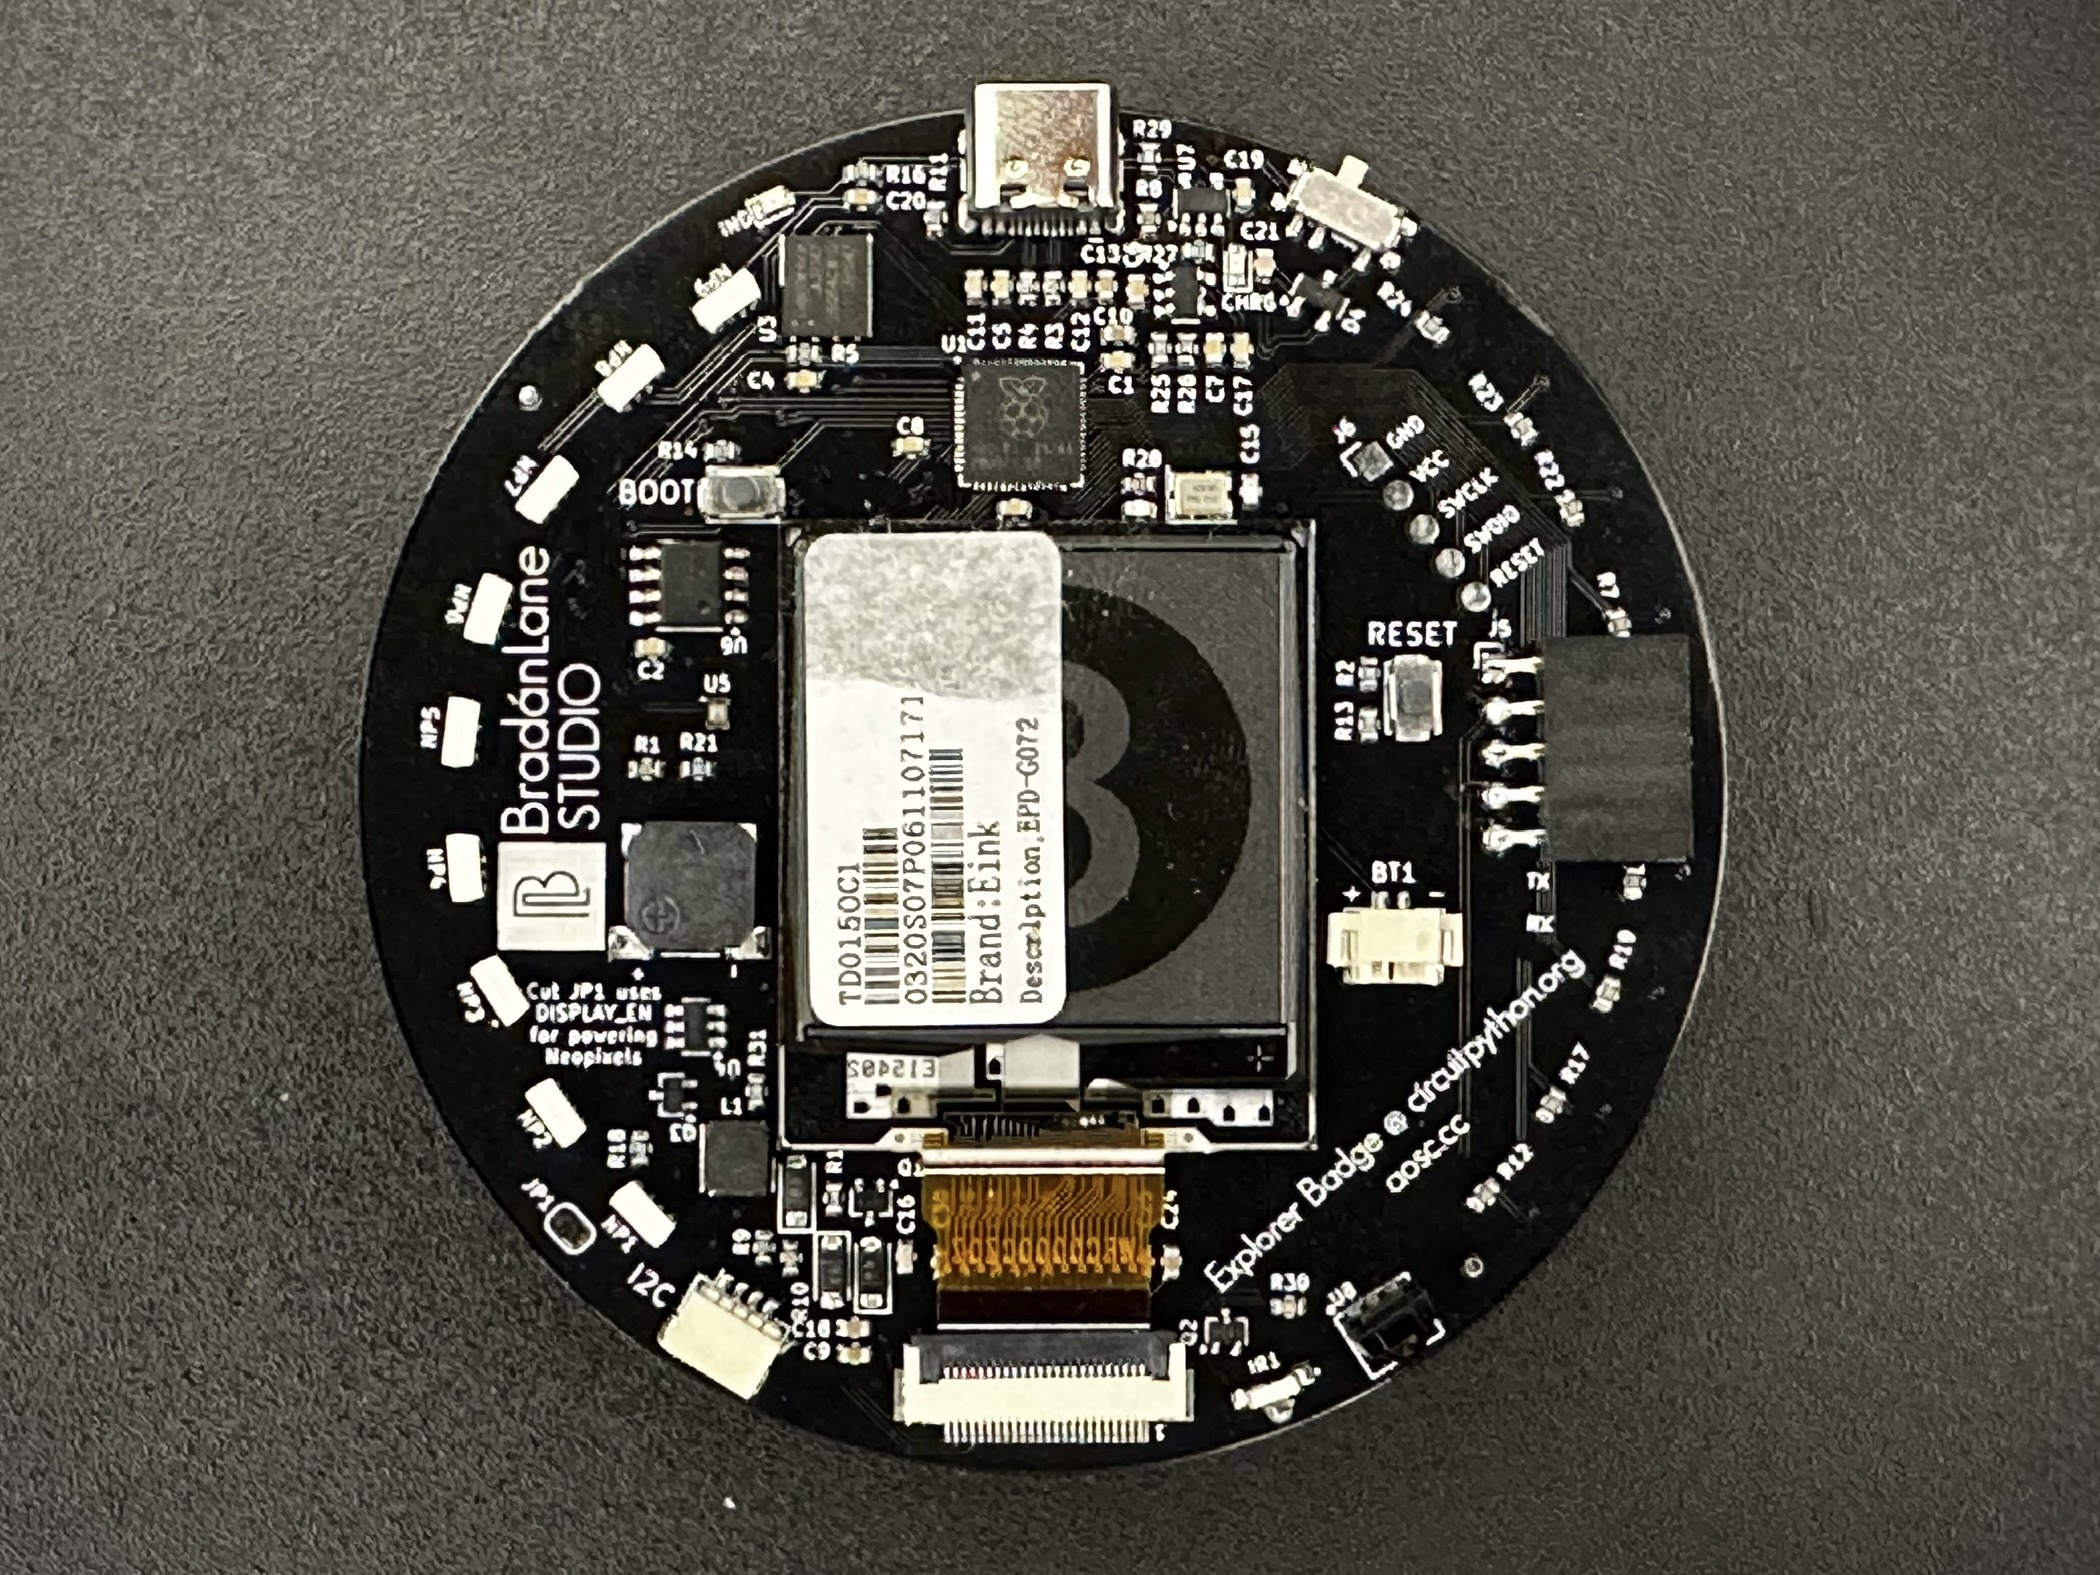
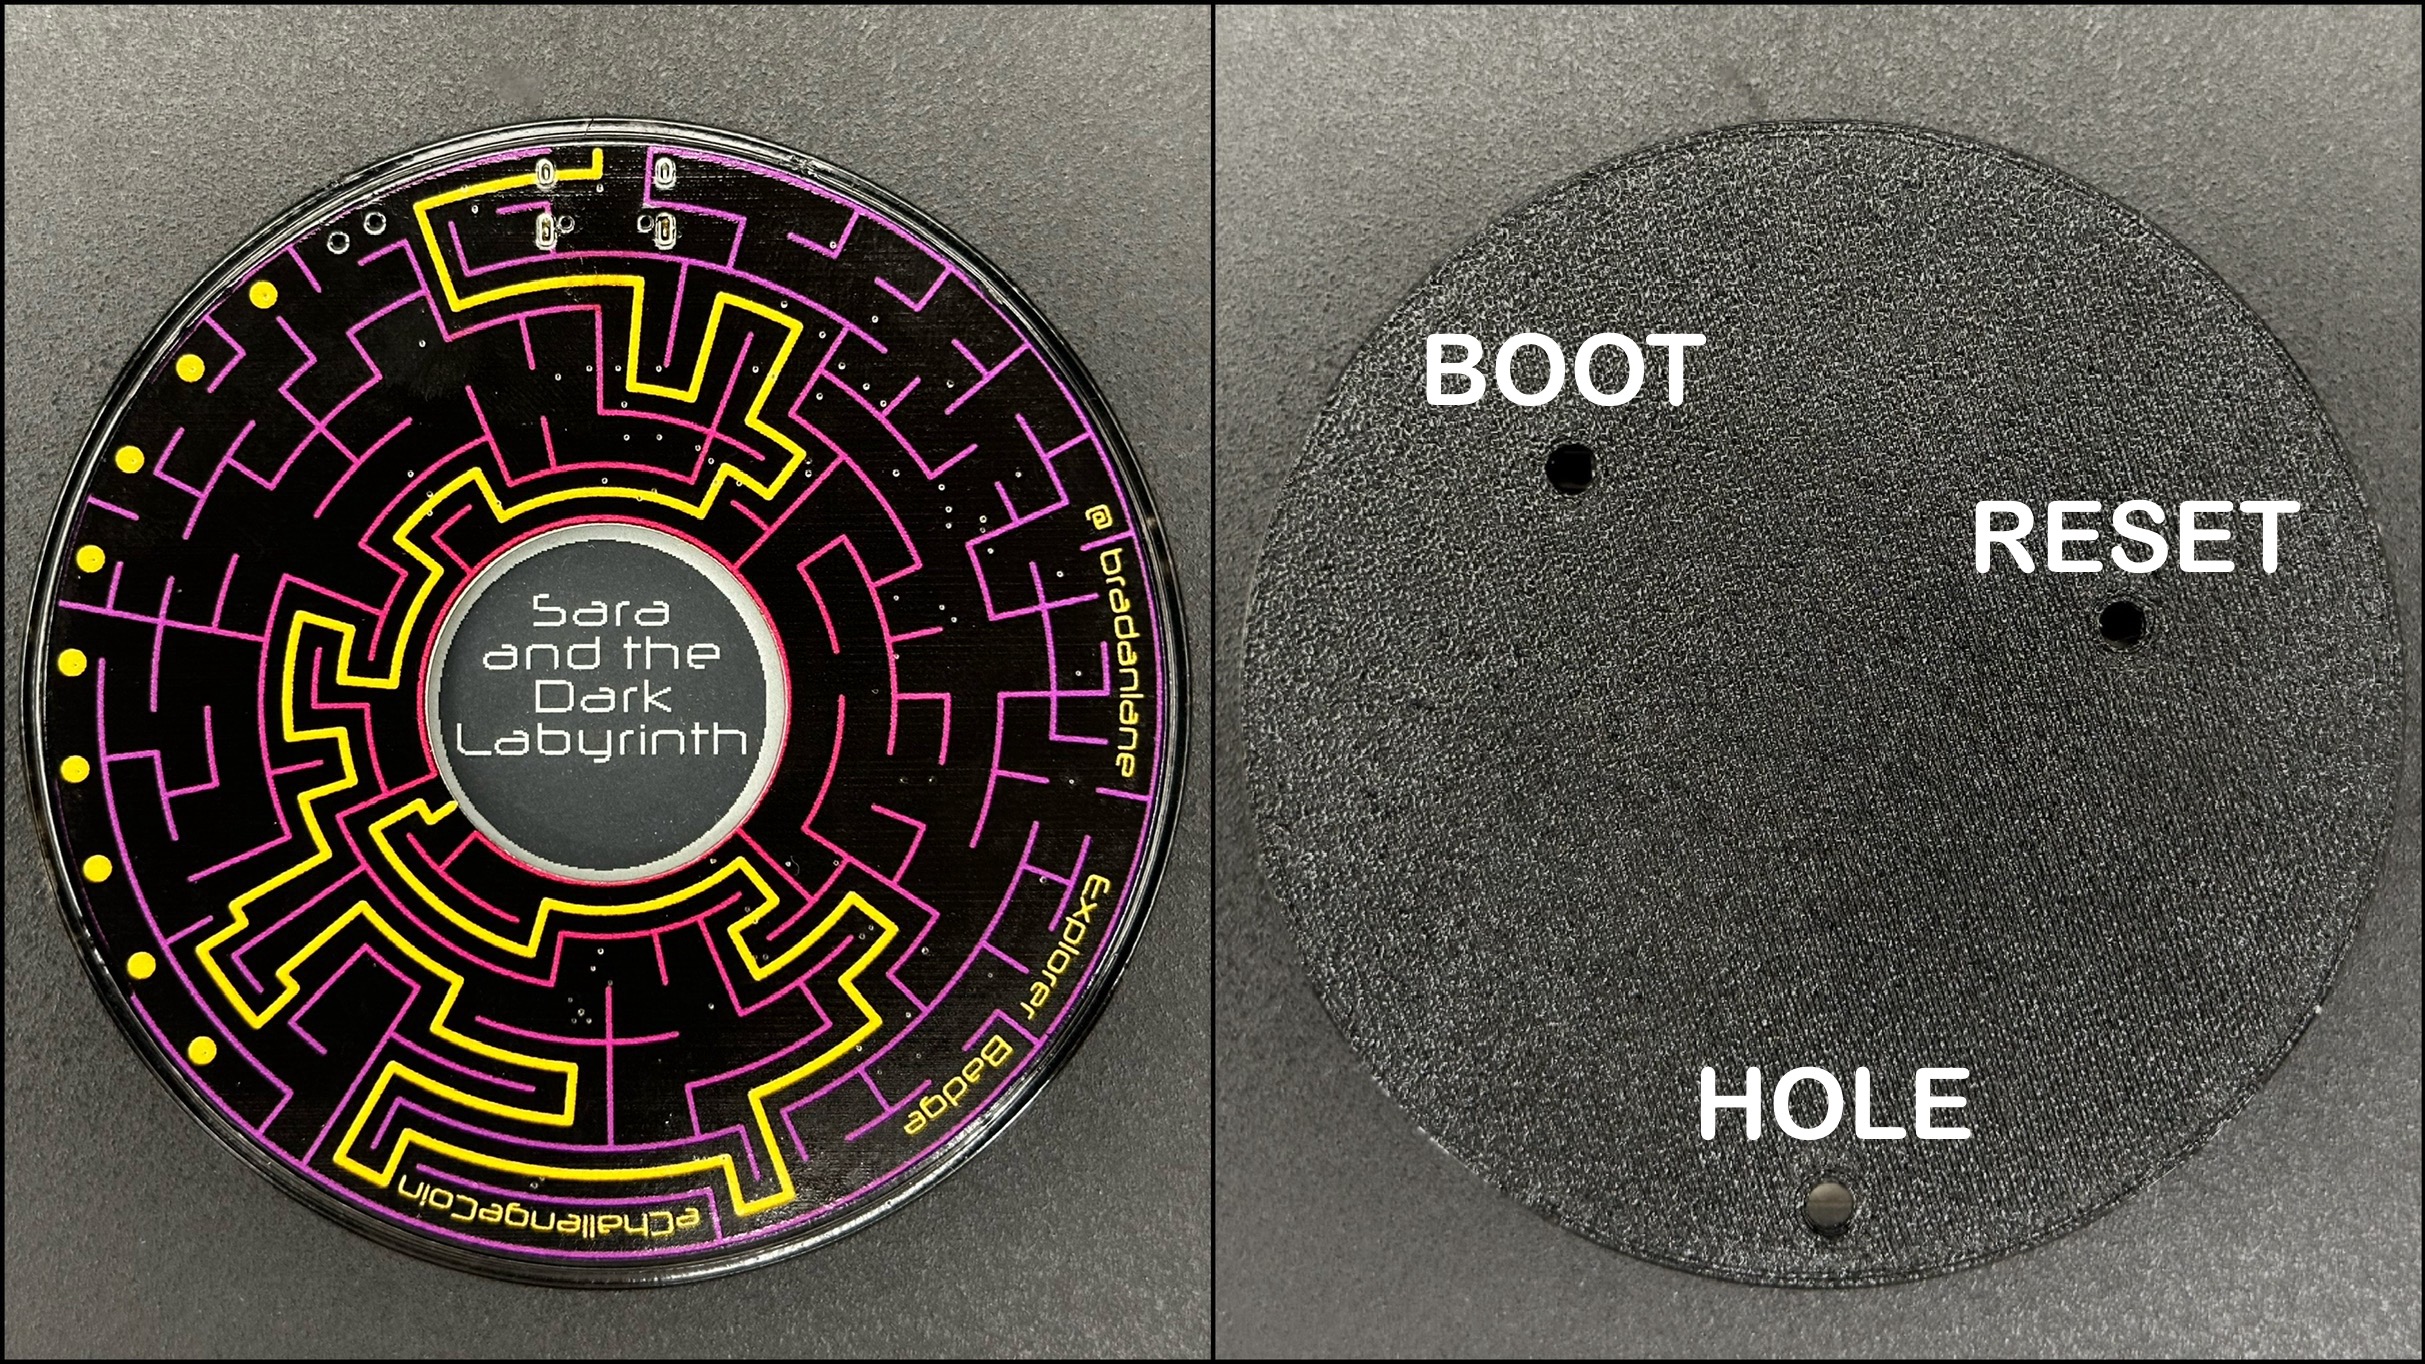
On the first batch of badges, you also need to remove the printed back to access the BOOT and RESET buttons to update the CircuitPython firmware.
On subsequent badges, the BOOT and RESET buttons are accessible through holes in the back (see photo above).
The video below gives an over view of the process for removing the printed back and gives a couple methods.
There are several things to consider when removing the 3D printed back.
- The little hole on the back - used to press the PCB away from the case - is directly over the plastic connector for the display.
- The location is relatively safe provided you do not use a sharp metal tool.
- A few recommended options are a toothpick with the first 1/4 cut off, the plastic tube of a cheap ball point pen, a piece of weed whacker line or similar plastic.
- The toothpick is the easiest - just break off a bit of the tip so it is blunt.
- When inserting the toothpick, be sure it is not angled. You want to land squarely on the top of the connector.
- If you are pressing hard, then STOP! Not much force is needed to open the case.
- If you are pressing in on the sides of the case, it will be very difficult to get the PCB to release from the case.
- Let the edge of the case rest against your finger tips.
- If this does not work, then find a small piece of plastic or wood to use as a spacer.
- Place the badge, face down on a table so the edge of the case is on the spacer but the edge of the PCB is not.
- Now you will be able to gently push the PCB out of the case.
- Again, do not use a sharp or metal tool and if you are pressing hard, STOP.
There is a small protective plastic plate (see photo above) between the access hole (see photo above) in the 3D printed back and the display's FPC connector.
This plate may have been omitted on the first batch of badges.
You can tell by looking in the small hole.
If you see the display connector, the protection is missing.
This is not critical.
You just need to be more careful and use a a blunt, non-metal tool to open the case the first time.
You can make your own protector from the lid of a plastic container (yogurt, cottage cheese, etc) and use double sided tape.
The Explorer Badge includes support for a rechargeable battery.
The battery is not included.
The battery size is 303450 and requires a 1.25mm JST connector.
Remember: the polarity of the connector is very important.
It is available from several sources, included Amazon.com
But again, double check the polarity of the battery you receive with the markings on the badge.
If necessary, swap the leads within the connector to match the badge.
There is a video below showing how to install the battery.
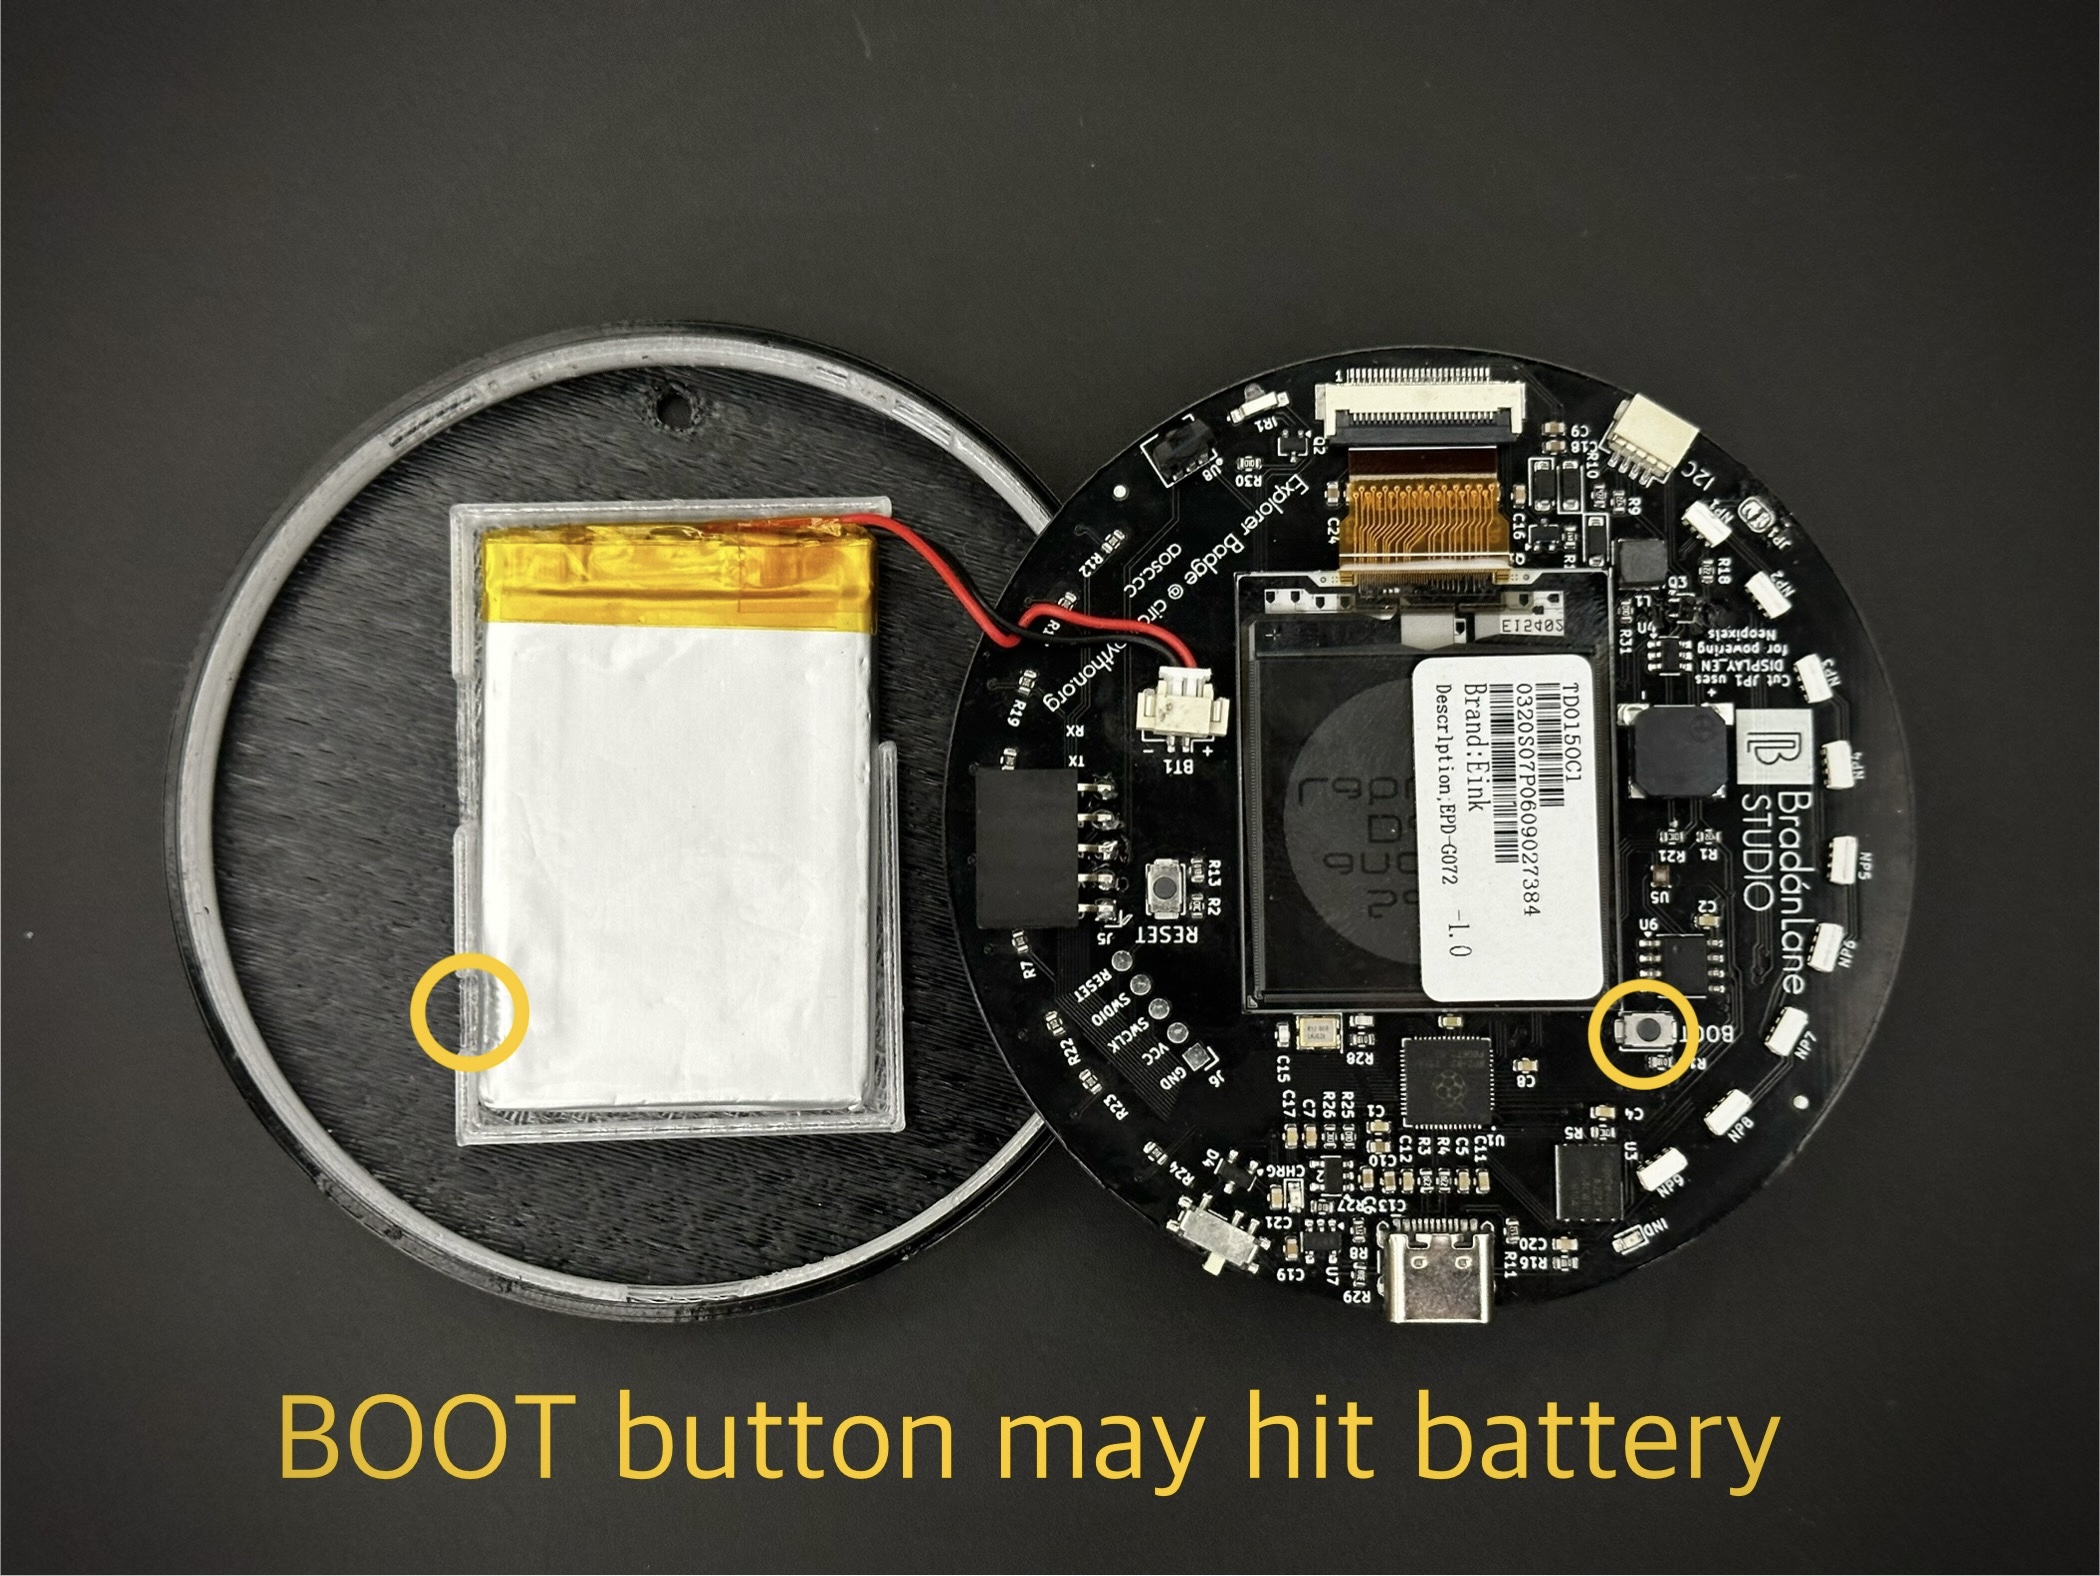
There is a design error in the first batch of 3D printed backs.
After installing a battery, it may interfere with the BOOT button.
The symptom is that the Explorer Badge will show RPI_RP2 rather than CIRCUITPY when connected to a computer using a USB cable.
The case has been slightly redesigned for subsequent badges.
If you have a badge from the very first batch and install a battery and experience the problem,
then open the case (as shown in the video below) and locate the mark on the battery where the BOOT button has pressed.
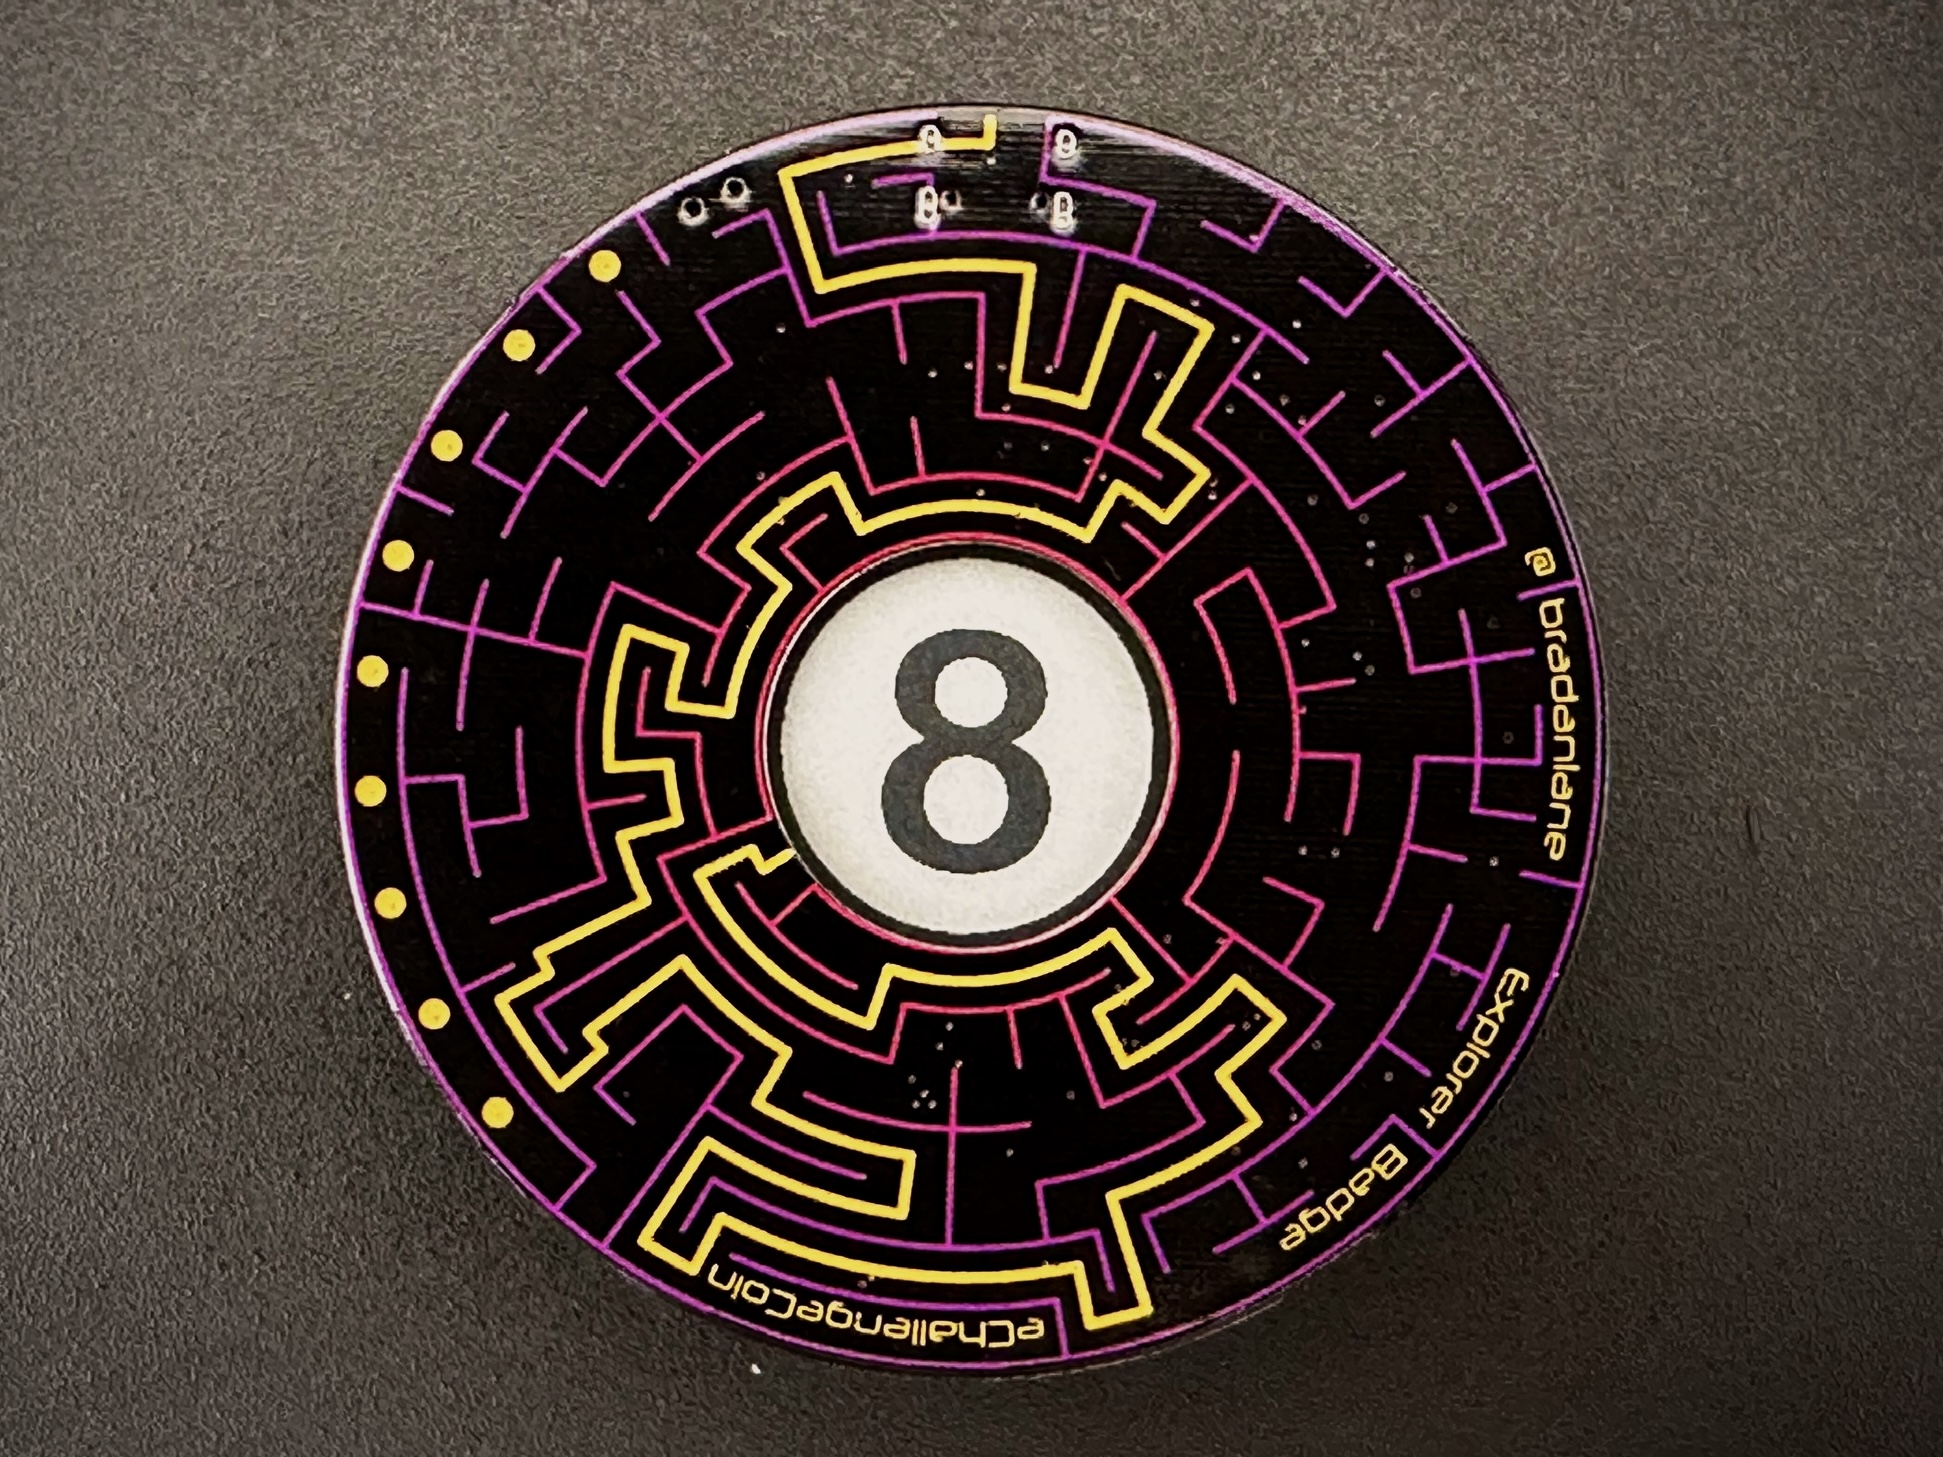
There is a photo with yellow circles at the top of this page.
Gently nudge that area of the battery and also make sure the batter is as close to the opposite side of the battery holder as possible.
If that still is not enough, you may cut away the opposing edge of the battery holder to allow the battery to move further.
In this case, it may be helpful to apply a piece of tape to keep the battery from moving around.
The Explorer Badge will run `code.py` on startup.
As shipped, this file starts the text adventure game.
There are also options for a demo and a Magic 8-ball game.
Edit `code.py` to choose what you want to run on startup.
The Magic 8-Ball game uses CircuitPython's deep sleep capability.
If you wish to make the battery last as long as possible, you can change the control of the Neopixels.
As shipped, the Neopixels are powered on whenever the badge is powered on - even during deep sleep.
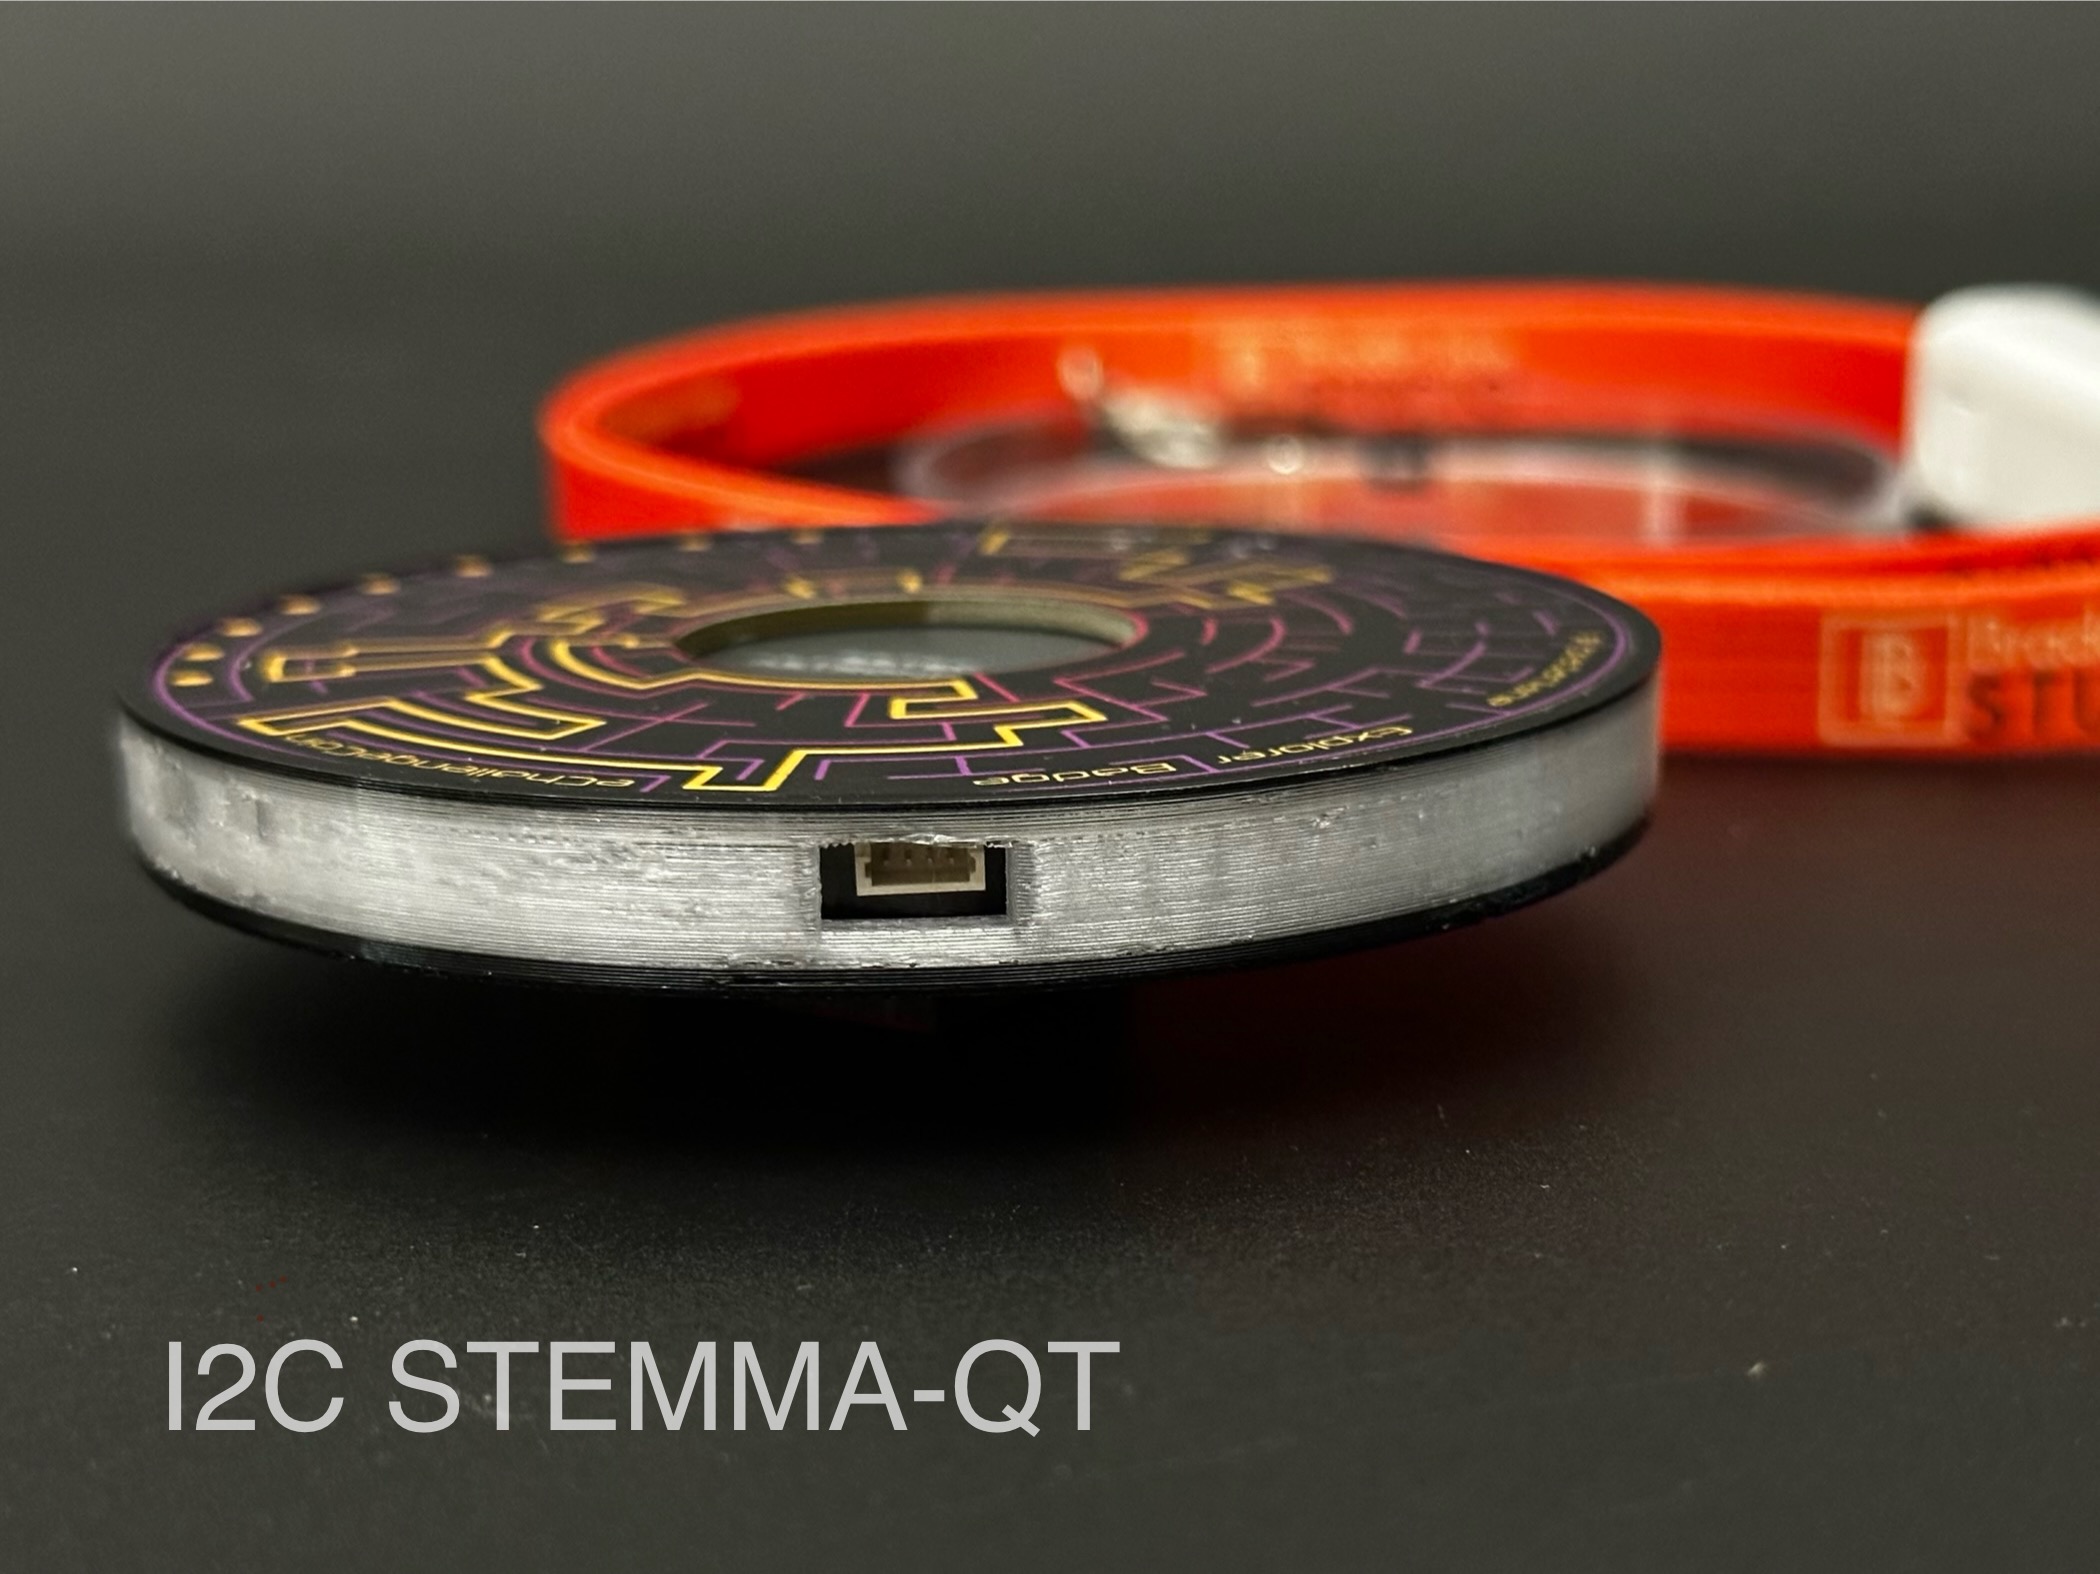
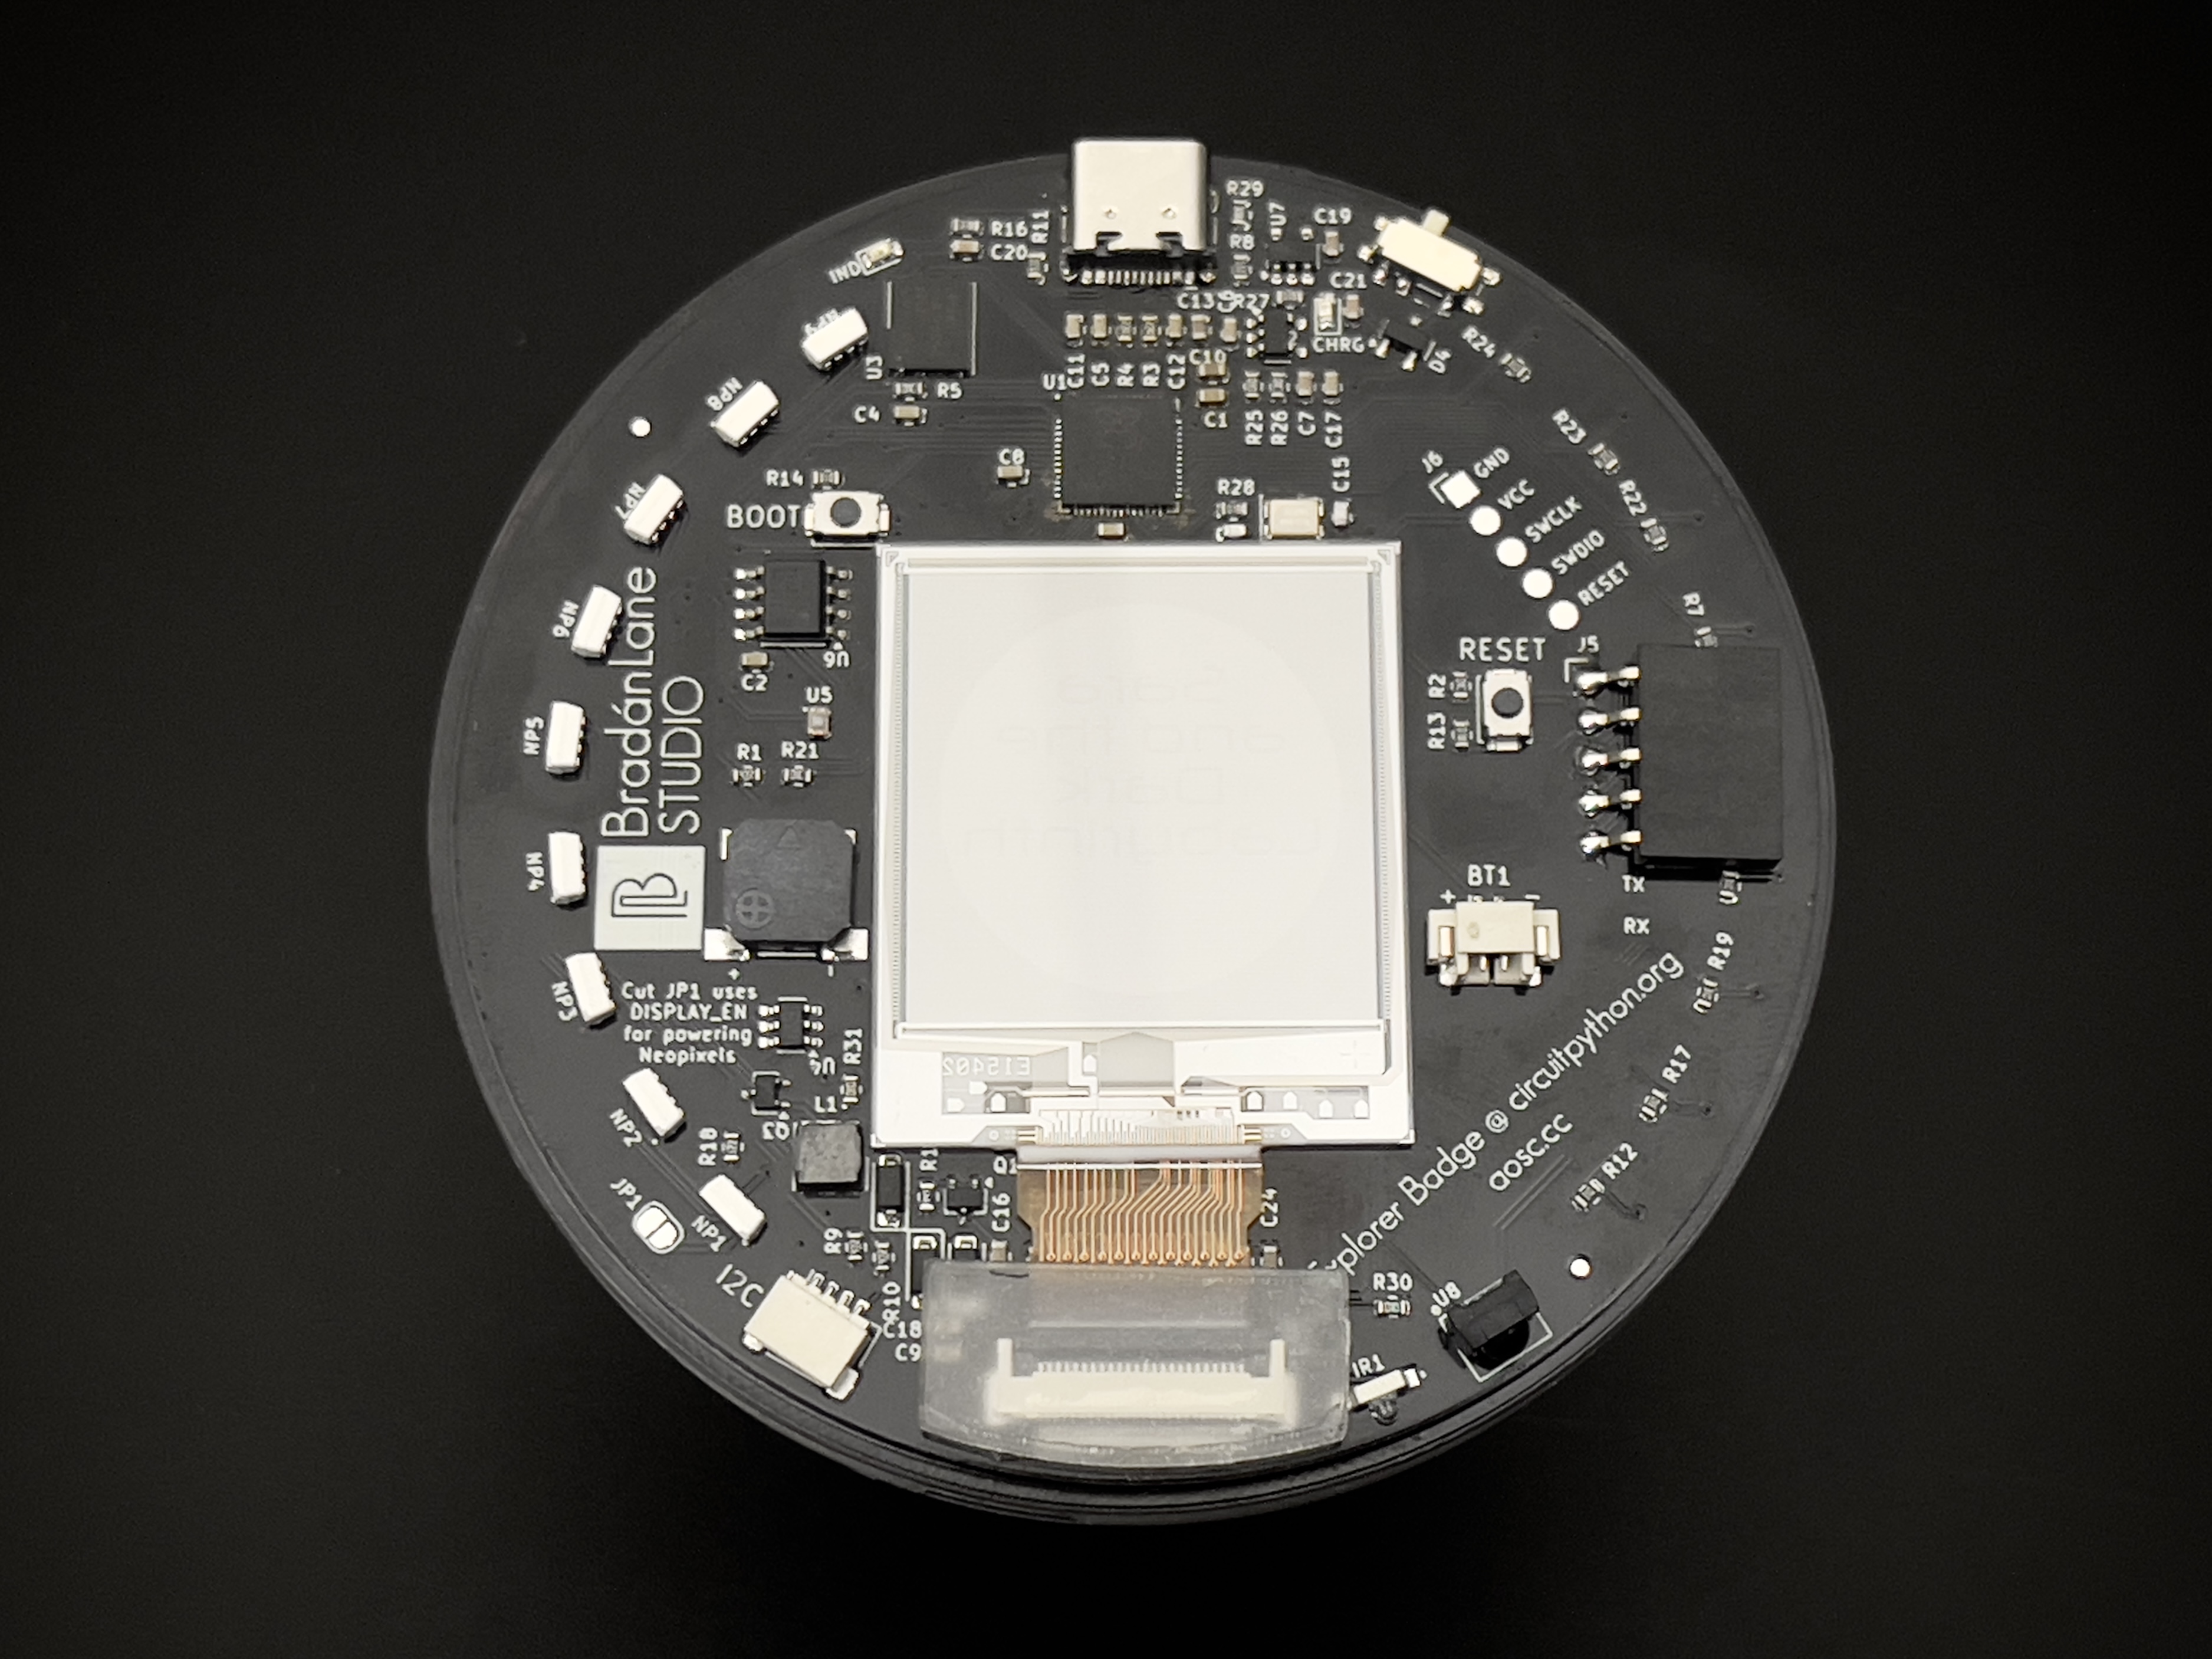
There is a trace on the PCB labeled JP1 located near the I2C STEMMA-QT connector.
Cutting the trace between the rounded pads, switches the Neopixels to use DISPLAY_EN to control power.
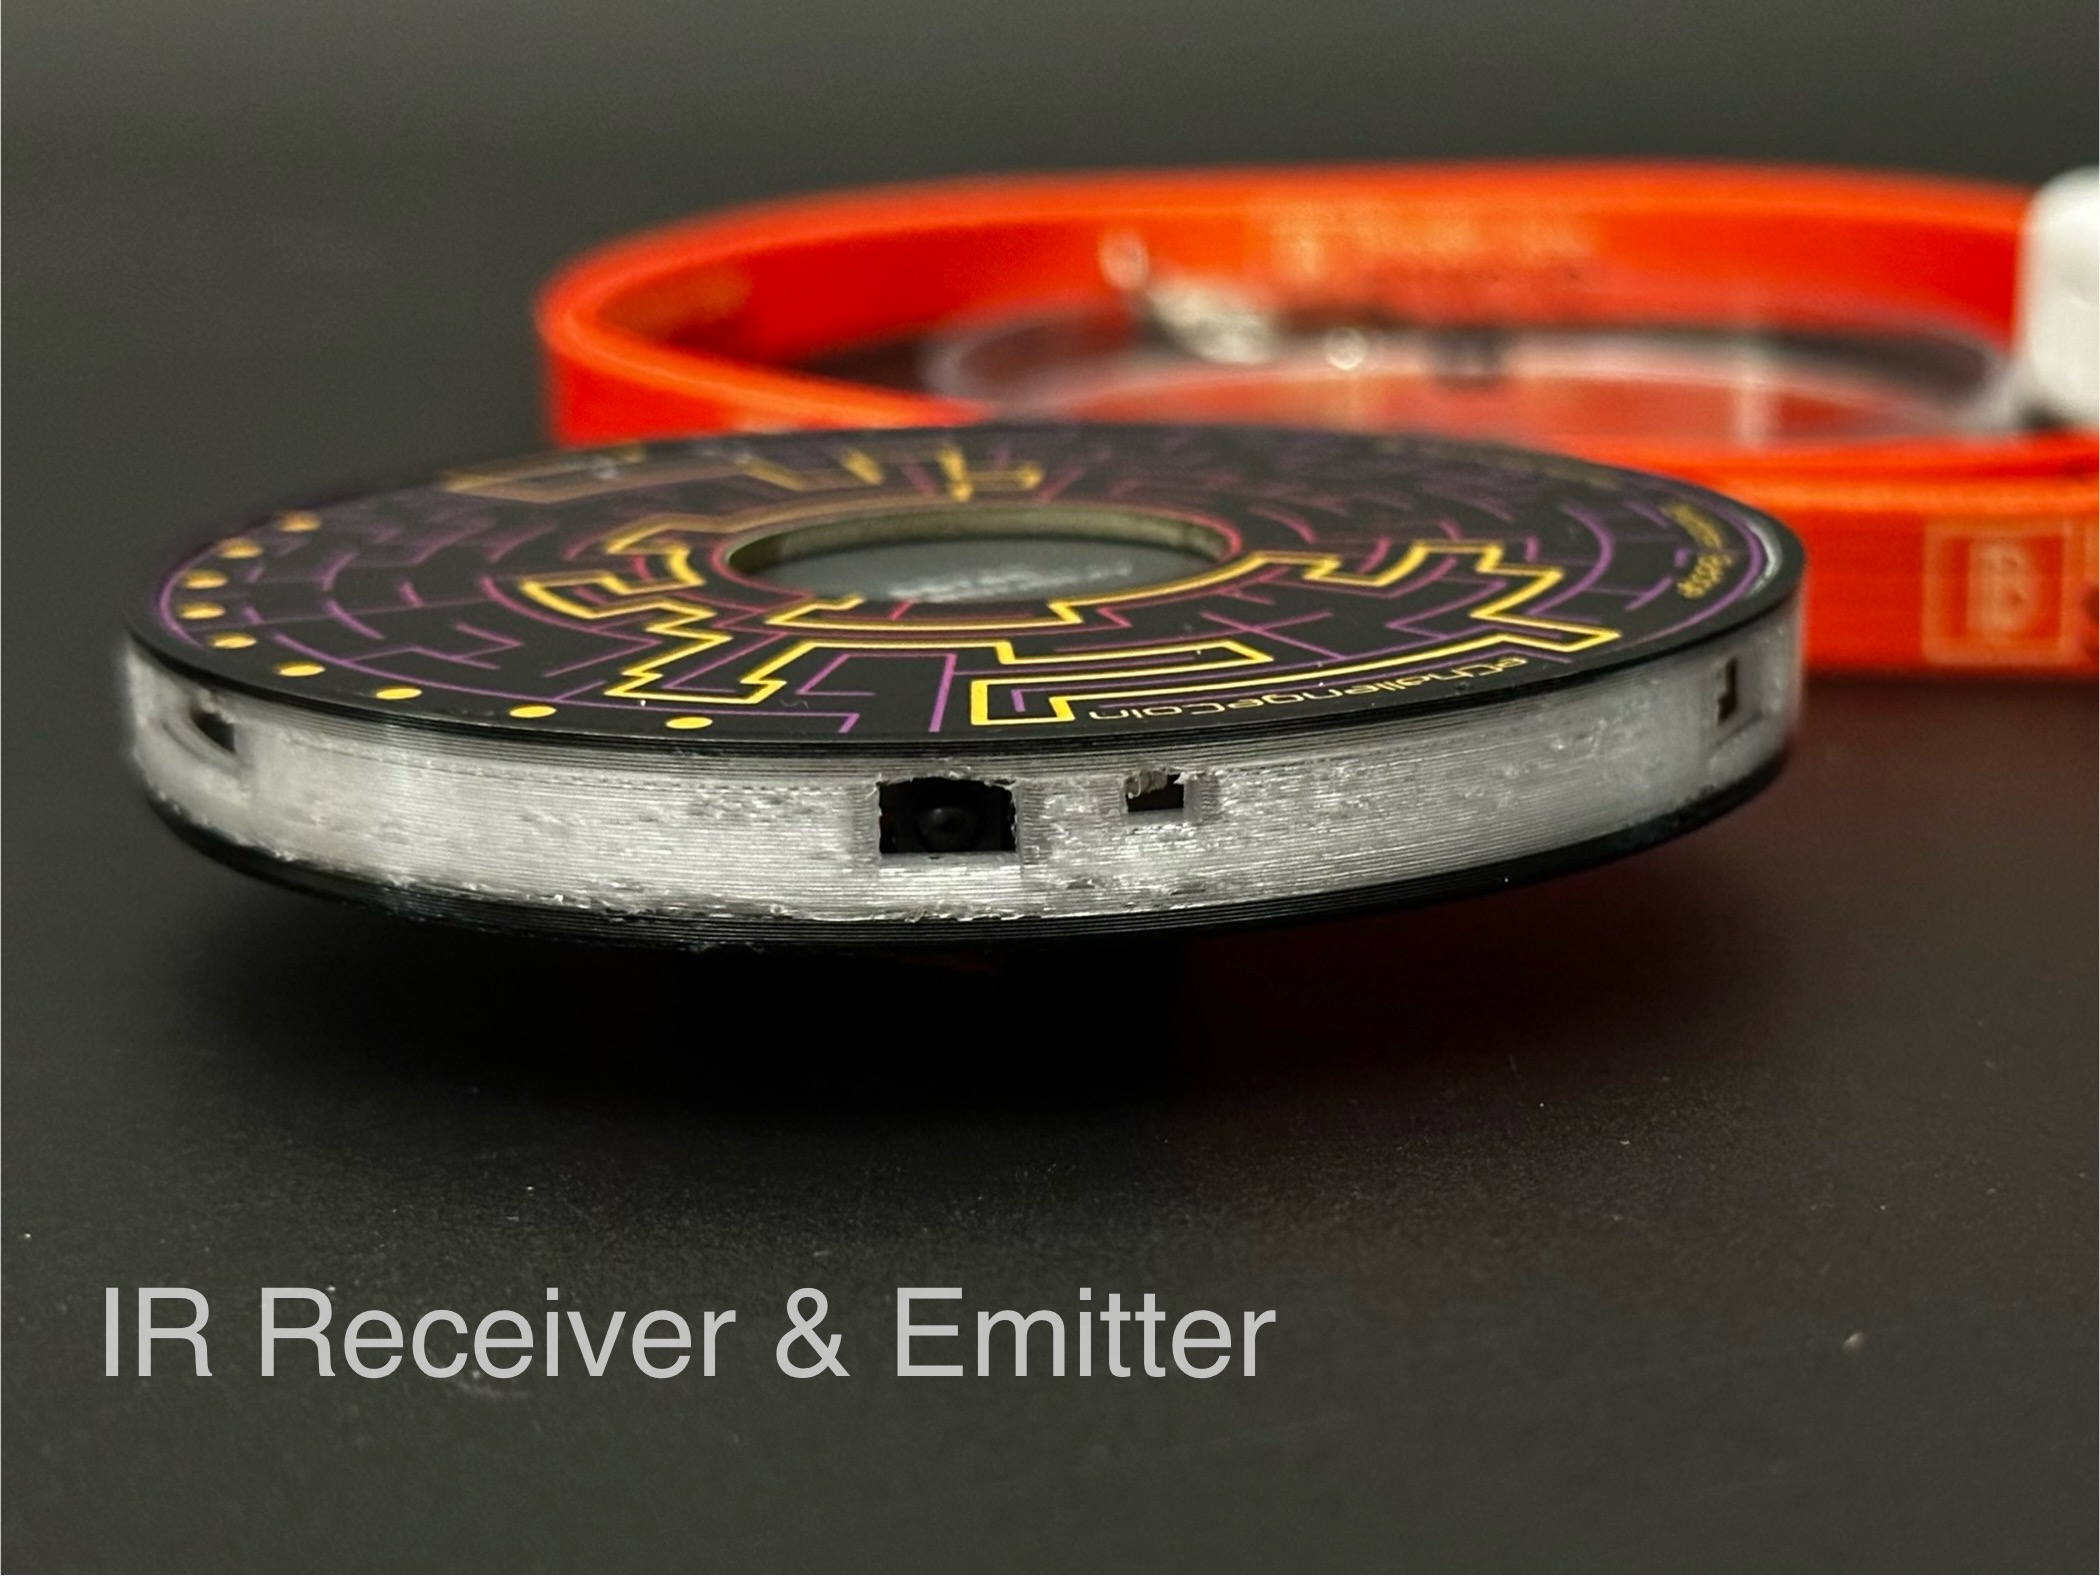
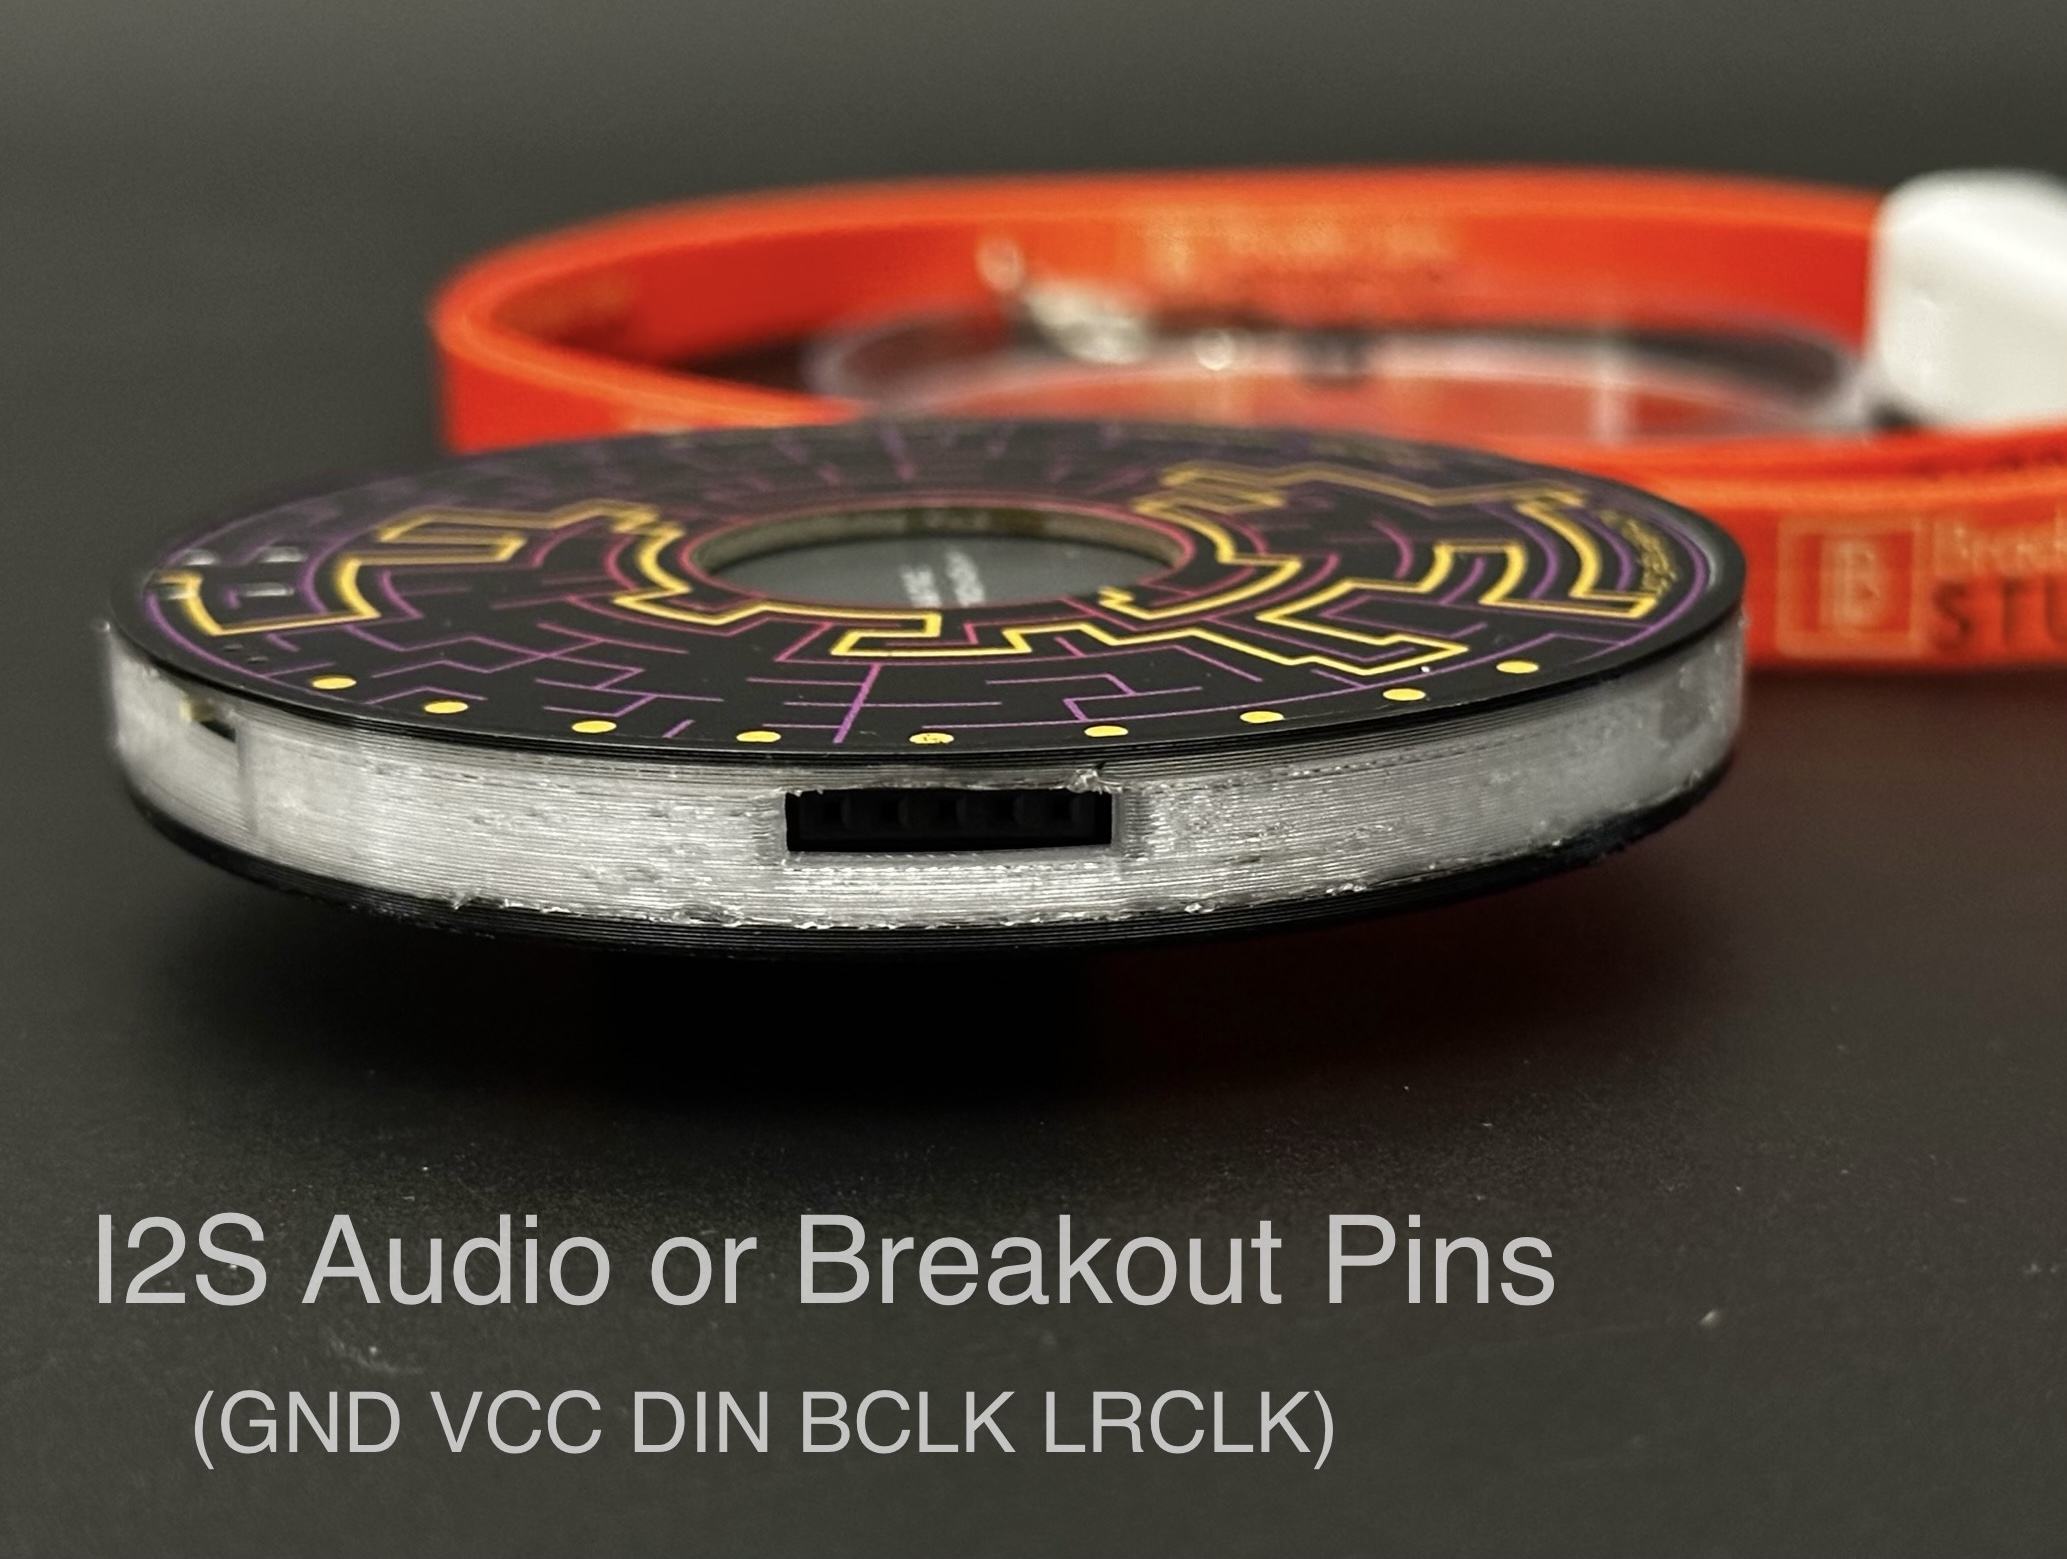
The Explorer Badge has a breakout for the I2S audio output. There are 5 pins:
GND,
3V3,
DATA,
BCLK, and
LRCLK.
When not using I2S, the pins may be used as general purpose IO pins.
The Explorer Badge includes the new text adventure game, 'Sara and the Dark Labyrinth'.
The game is accessed by connecting the Explorer Badge and using a serial terminal program using a baud rate of 115200.
The game will be waiting at a prompt - press ENTER/RETURN to start.
If you do not see the prompt, it may have been rendered before you connected. Just press ENTER/RETURN to start.
The latest version of the text adventure game - 'Sara and the Dark Labyrinth' - is available for download here.
This will contain any bug fixes or enhancements. The game is also available for Python on your computer. You can download the latest version here.
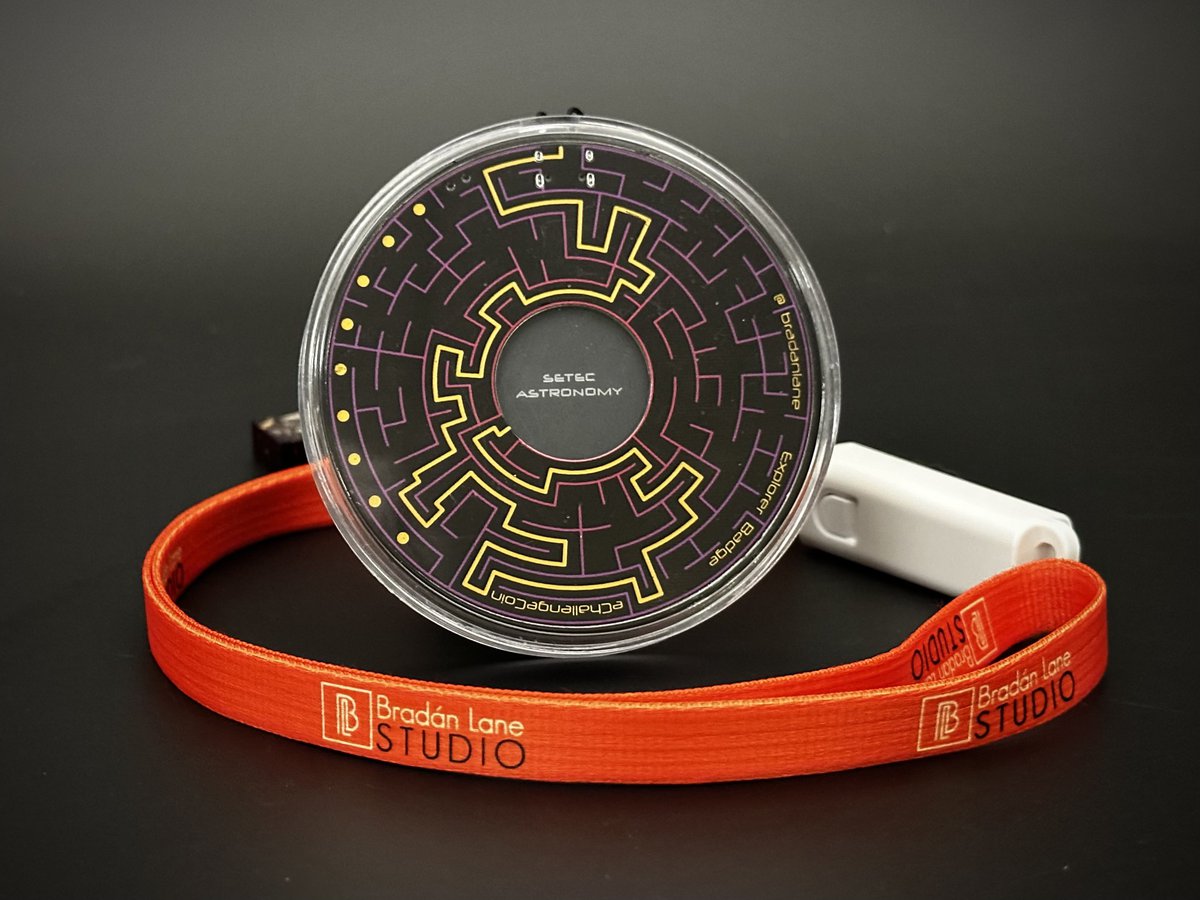
The coin case has a double slot in the bottom half.
This is for the USB lanyard.
Run the lanyard's pigtail through the slots.
When you align the finger notch of the top half with the slots of the bottom half,
the Explorer Badge may be worn with the lanyard.